I don’t necessarily consider myself a creative person, but I’m pretty good at seeing something on Pinterest and turning it into my own creation. However, the other day I had what can only be described as a stroke of genius (kidding lol) and I am SO excited to share it with you today!
We have a pretty large under the stairs closet that we planned to use as a storage space slash coat closet. After only a couple months of living here, this is what it looked like:
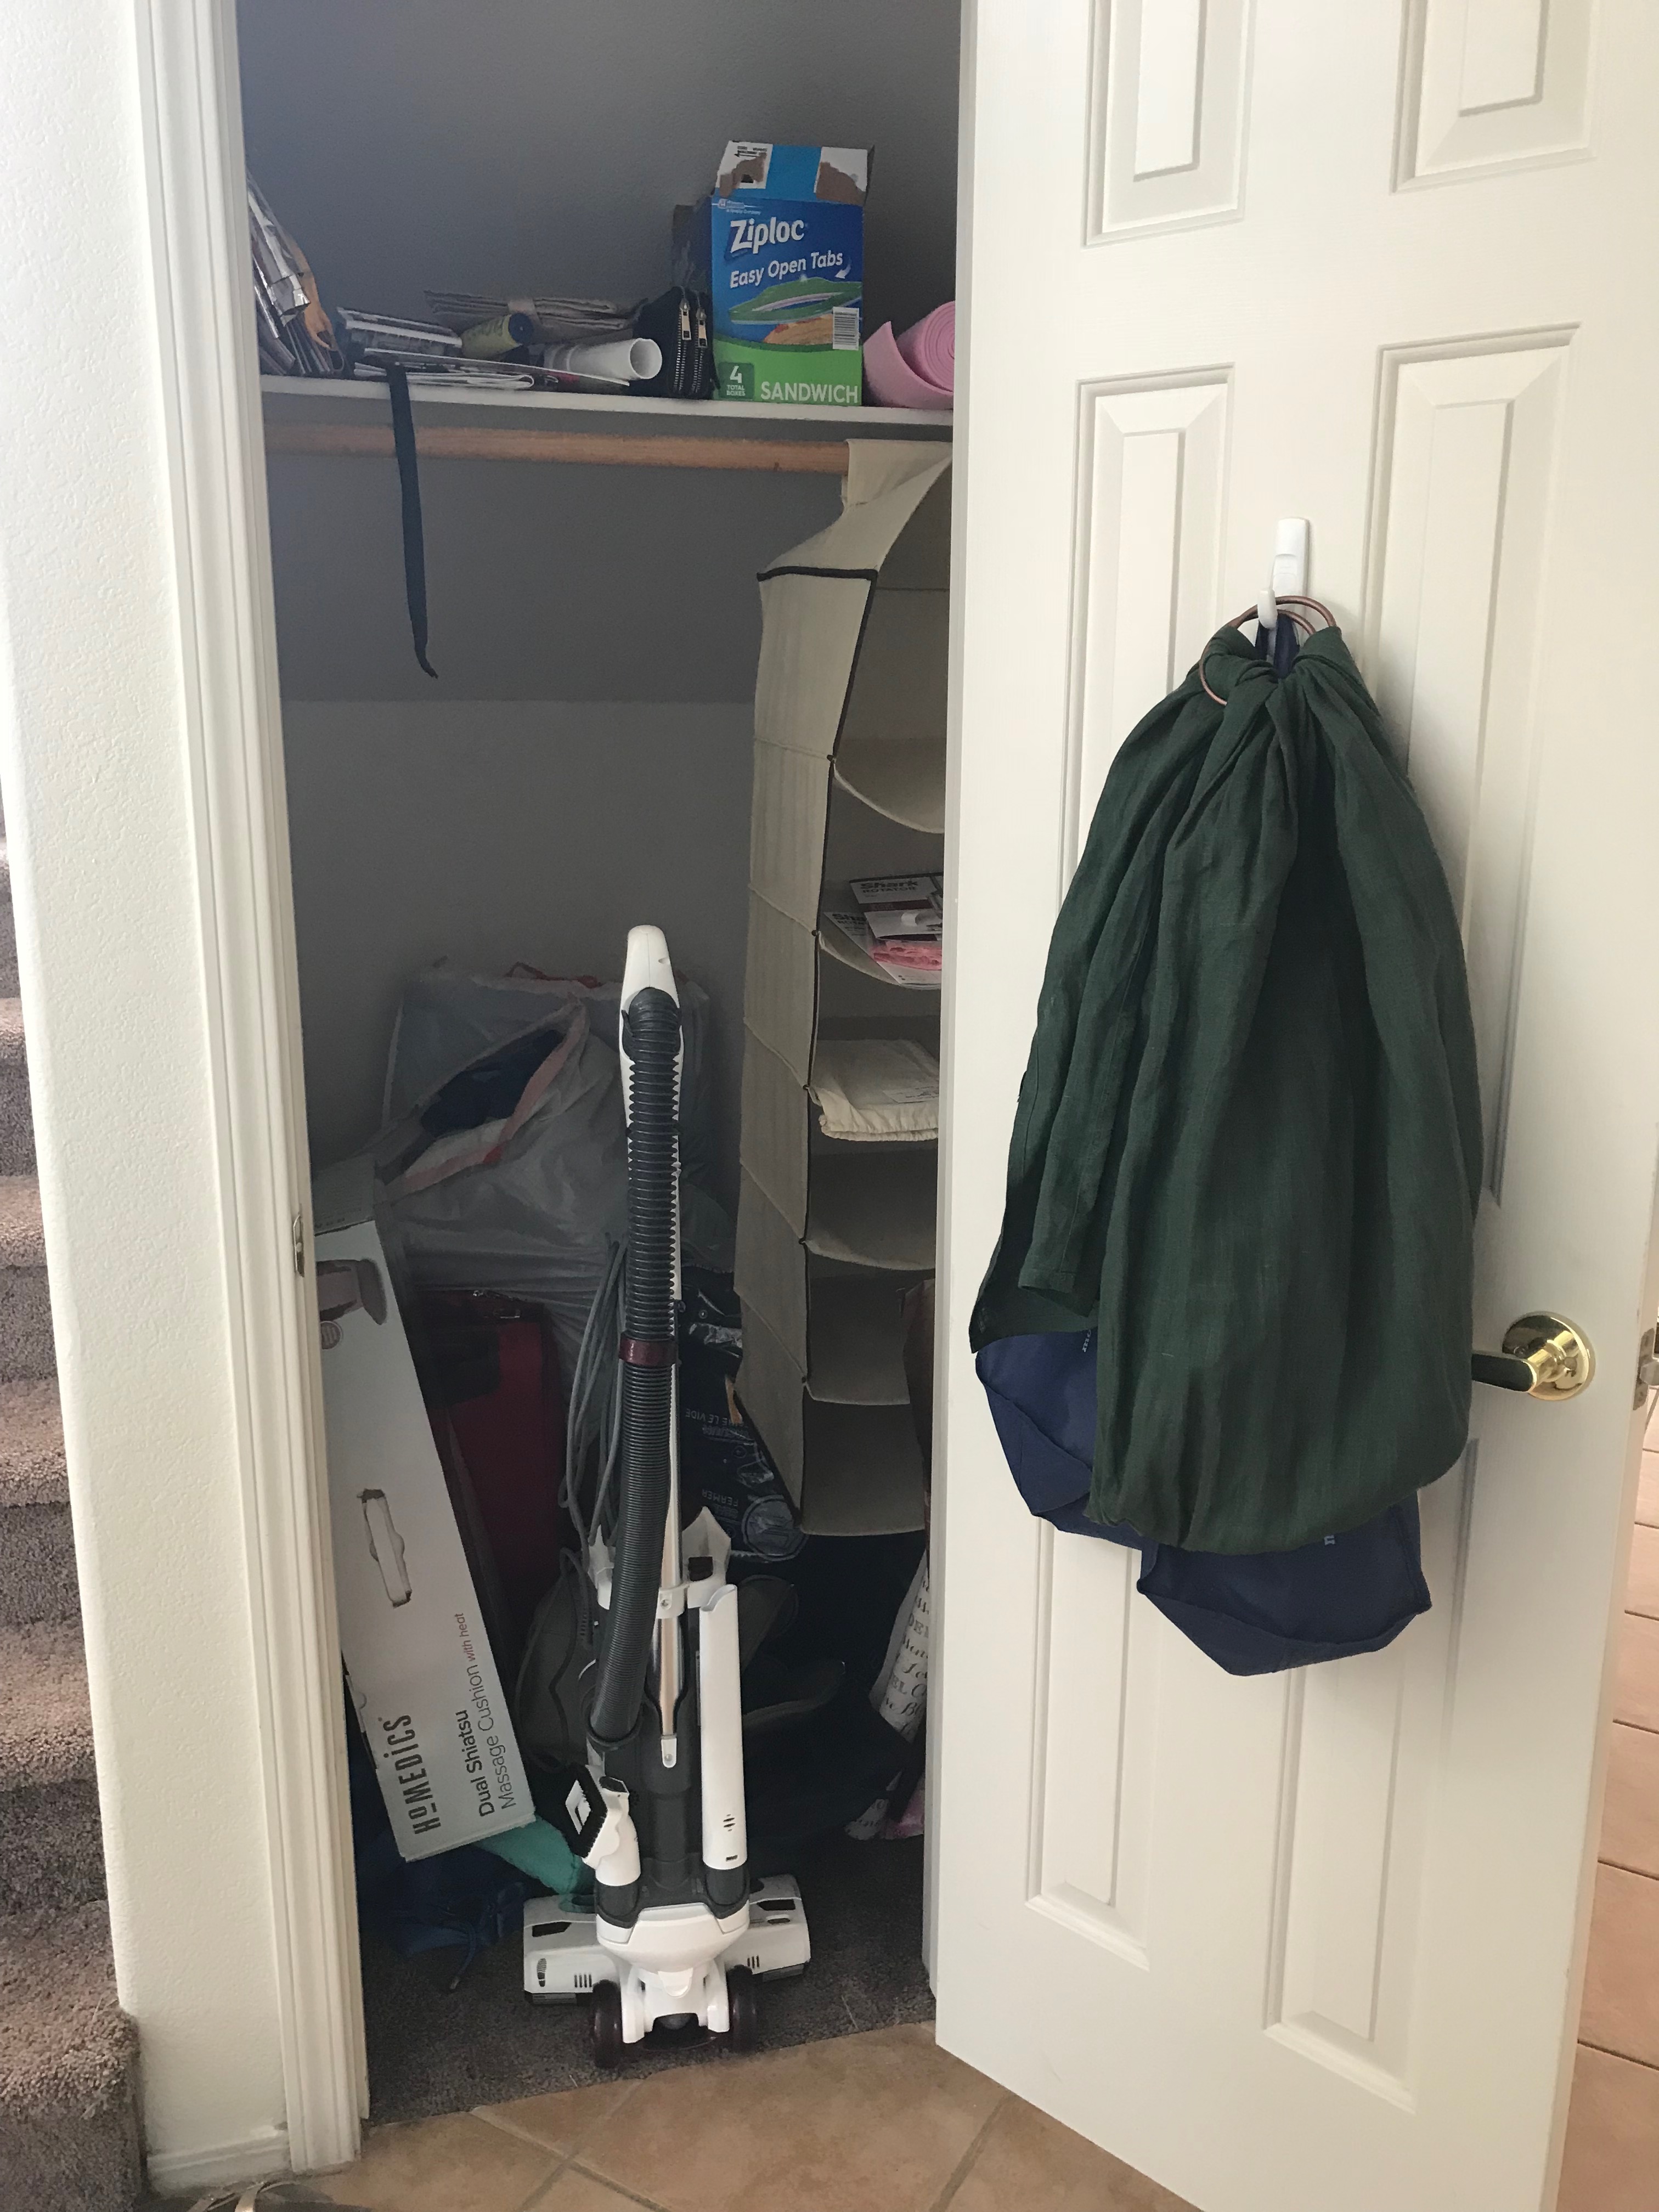
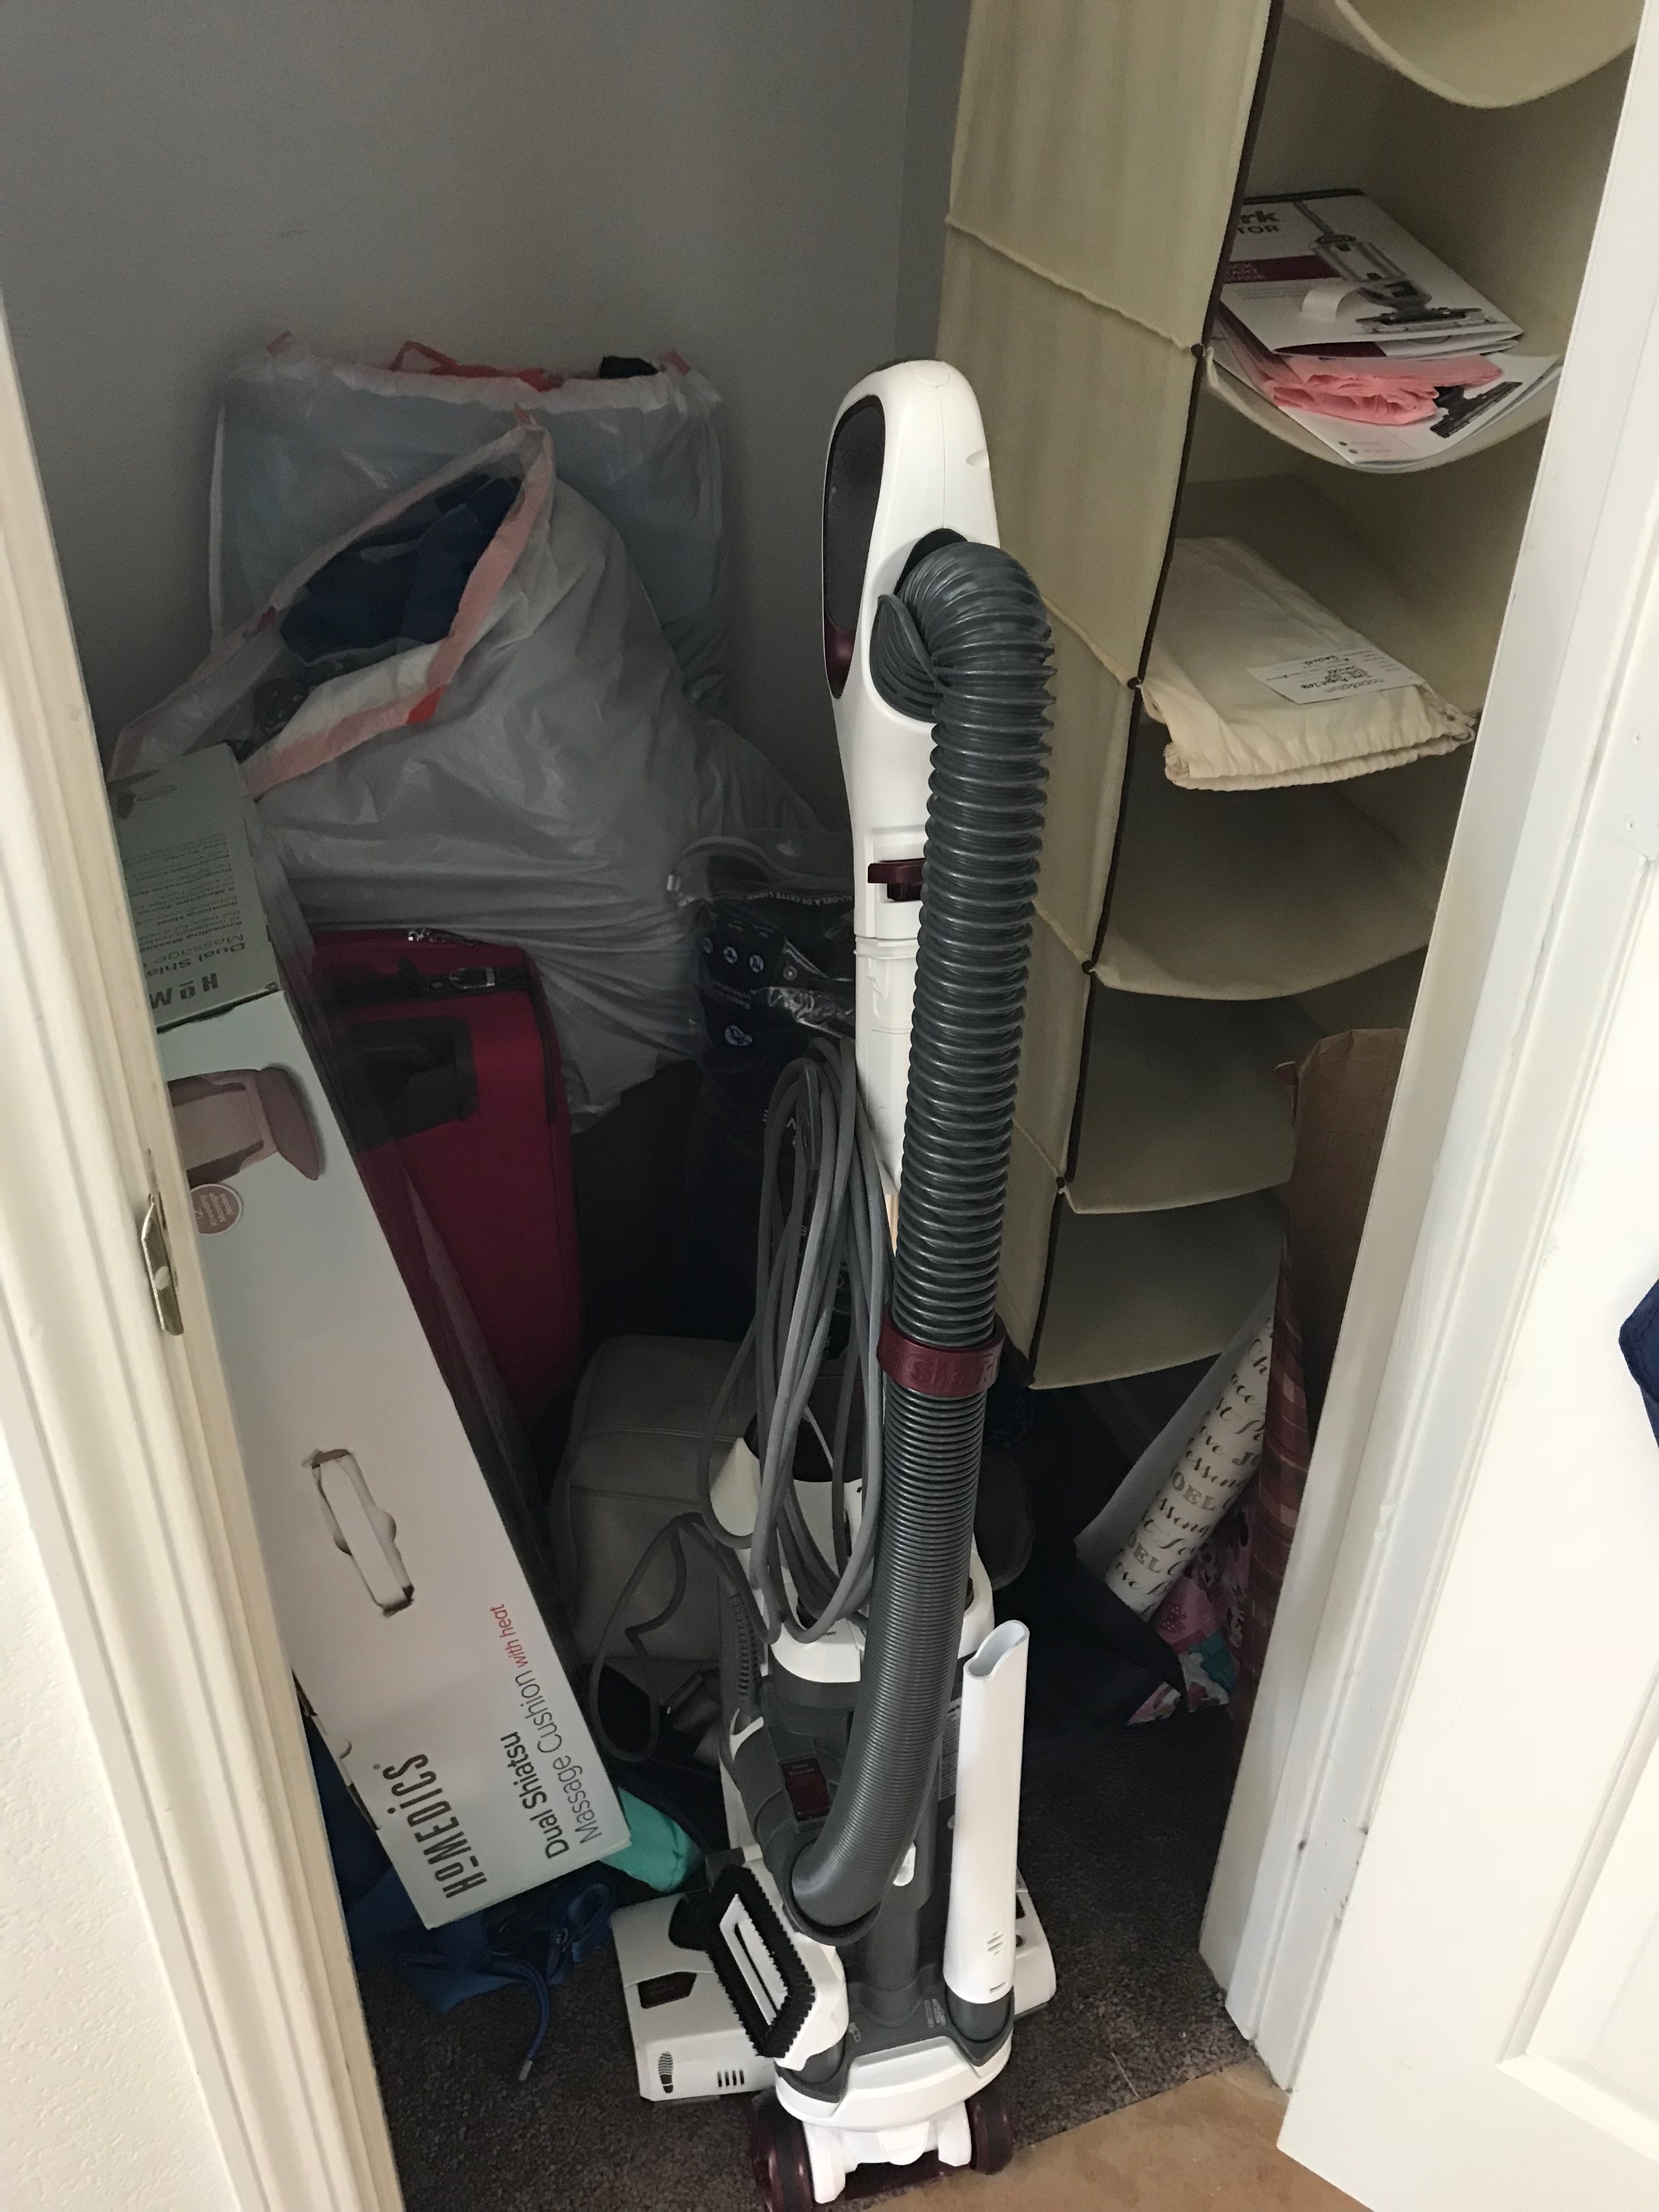
CAN I GET A YIKES?!
I mean holy smokes! I knew that if this closet was this messy after only a couple months, it would only get worse from here on out and I was not going to let that happen!
After brainstorming a few ideas, I knew I wanted to turn this into a kind of mudroom for purses, backpacks, and a place for kids to store their shoes. I looked around for a little cubby shelving unit (and actually found the perfect one at Goodwill as someone else was wheeling it out to their car, UGHHH) but the closet is only 3 ft wide and there aren’t many cube shelves that fit those dimensions. I also didn’t want to take up the entire closet with one shelving unit, so I decided to go a different route.
I cleaned out the closet in about an hour–I consolidated the stuff we needed to keep (light bulbs, instruction manuals, quilts, and suitcases) and moved them out to the garage or elsewhere in the house. I got rid of the hanging shelves since they weren’t holding anything anyways, and threw away the old wrapping paper scraps and bags that weren’t reusable.
With the closet completely empty, I was able to make a plan for the things I actually wanted in this space. Here is the final result!
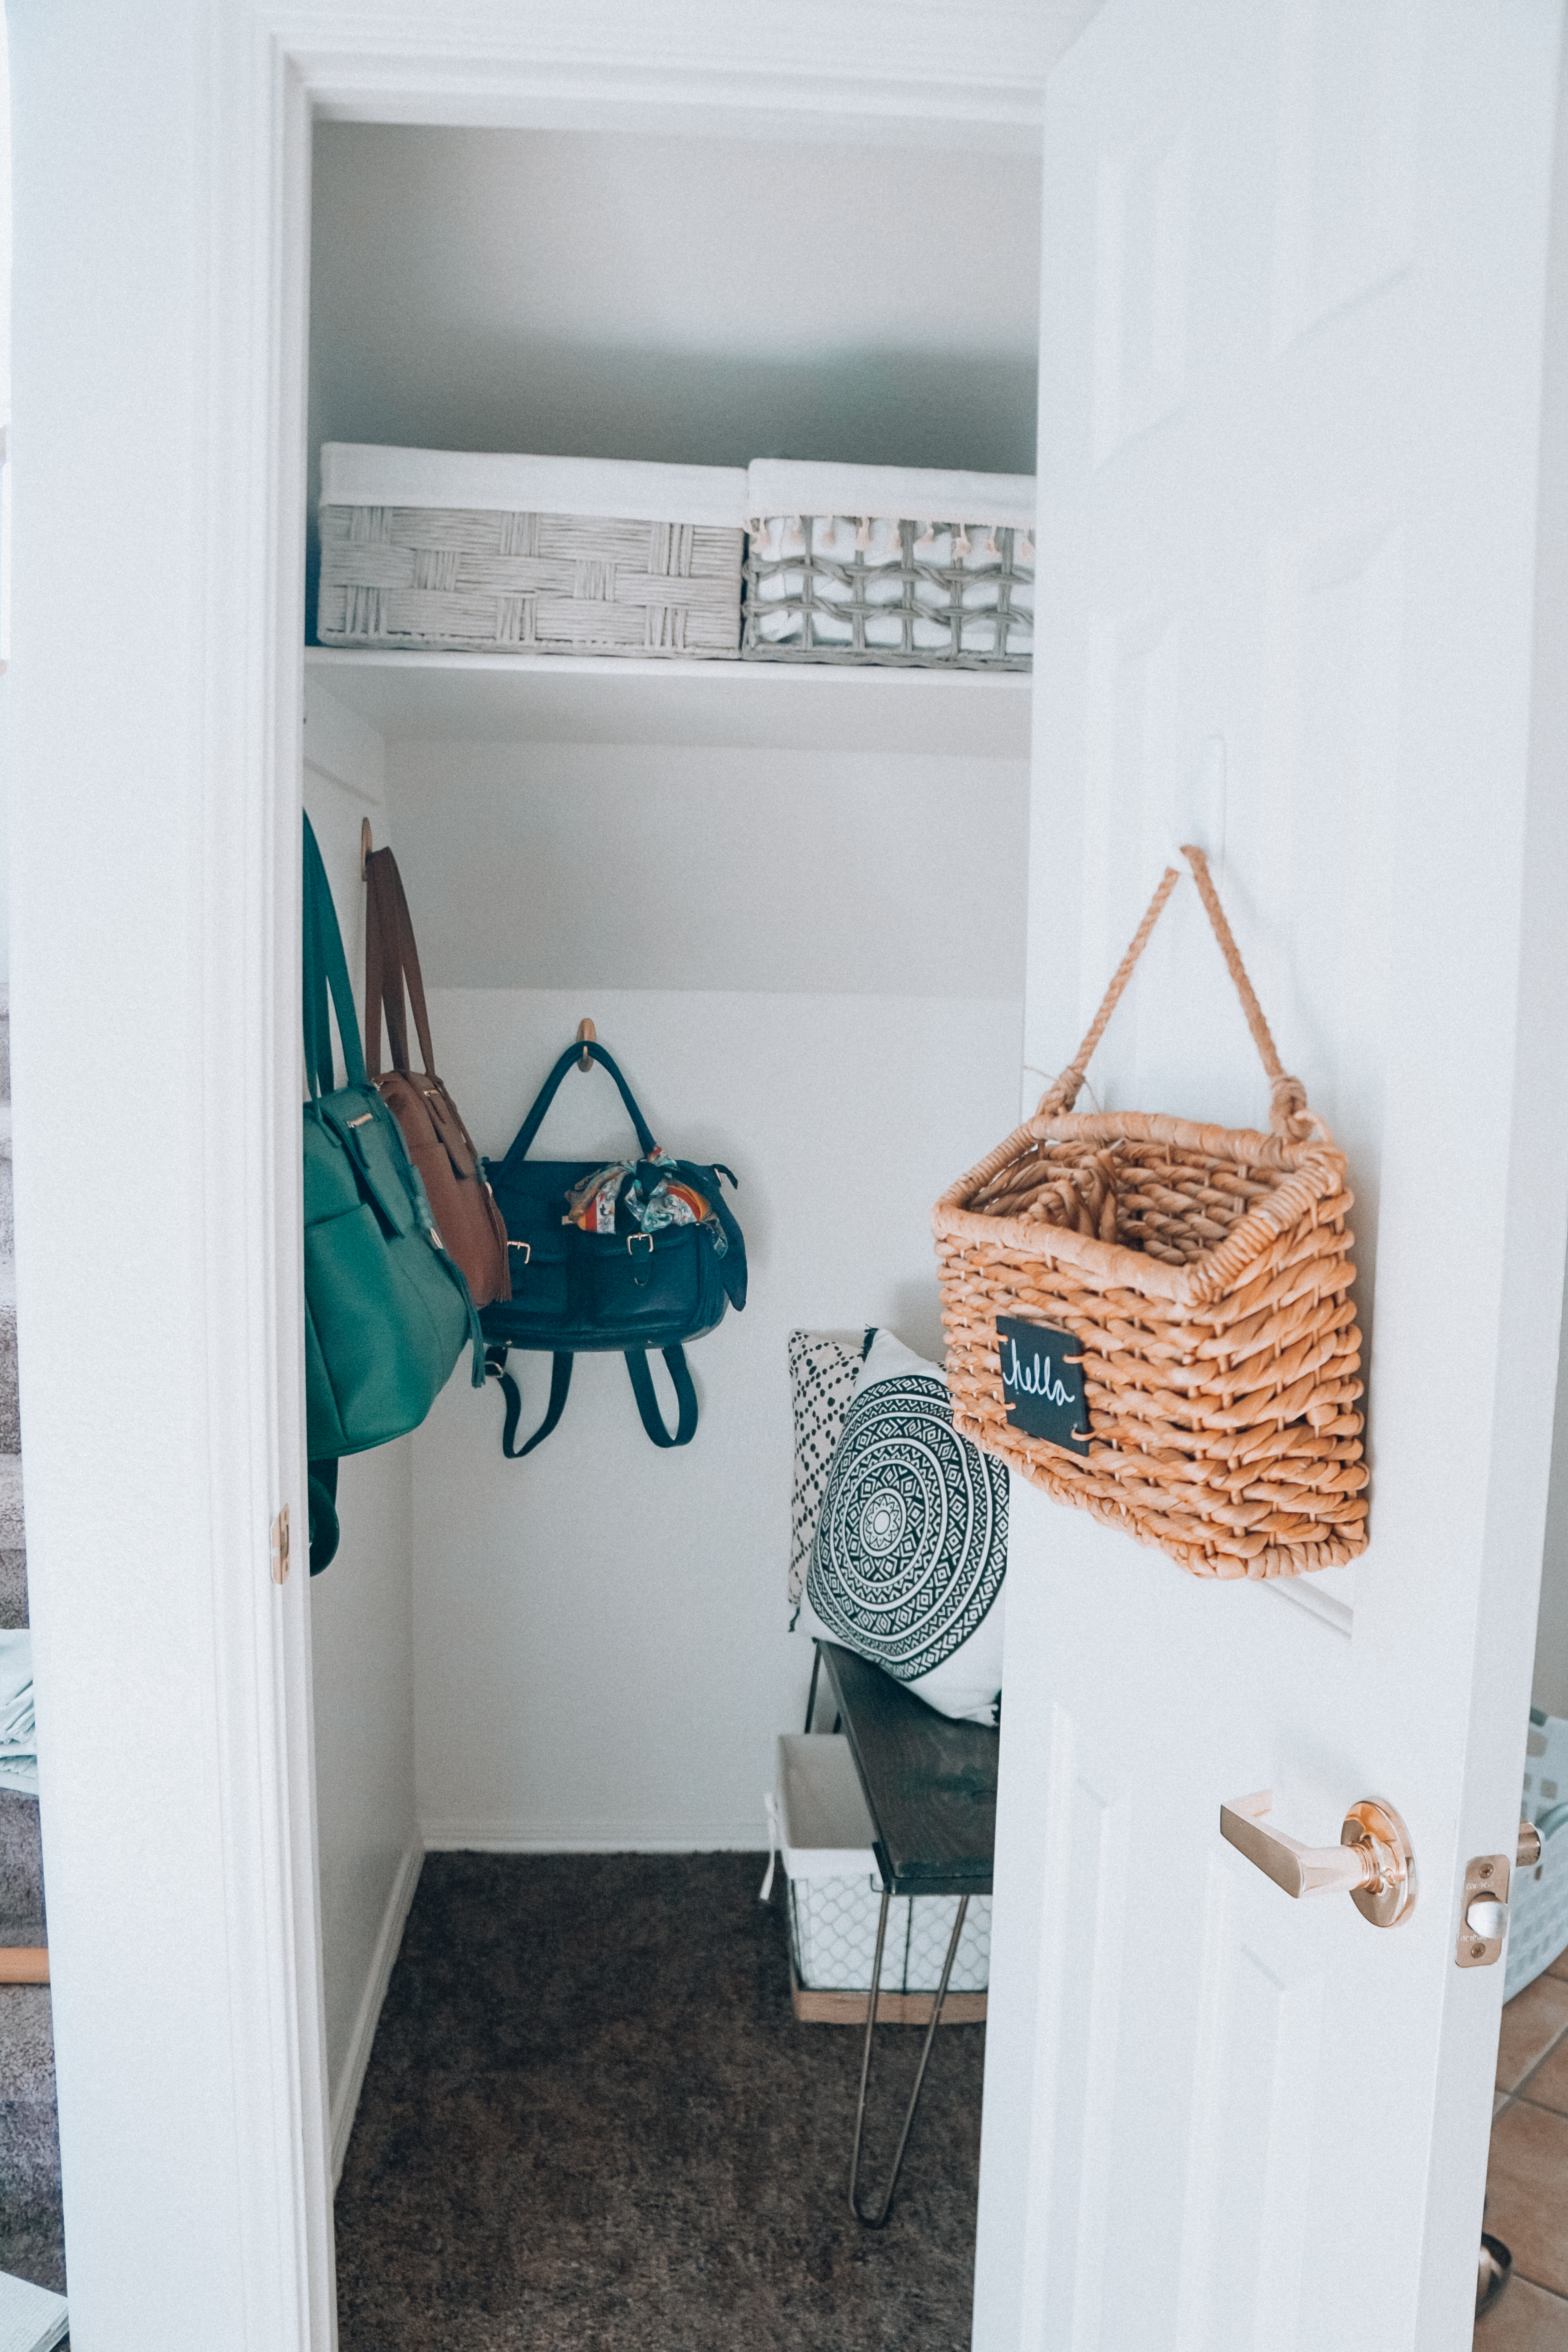


It’s hard to believe this is the same closet!
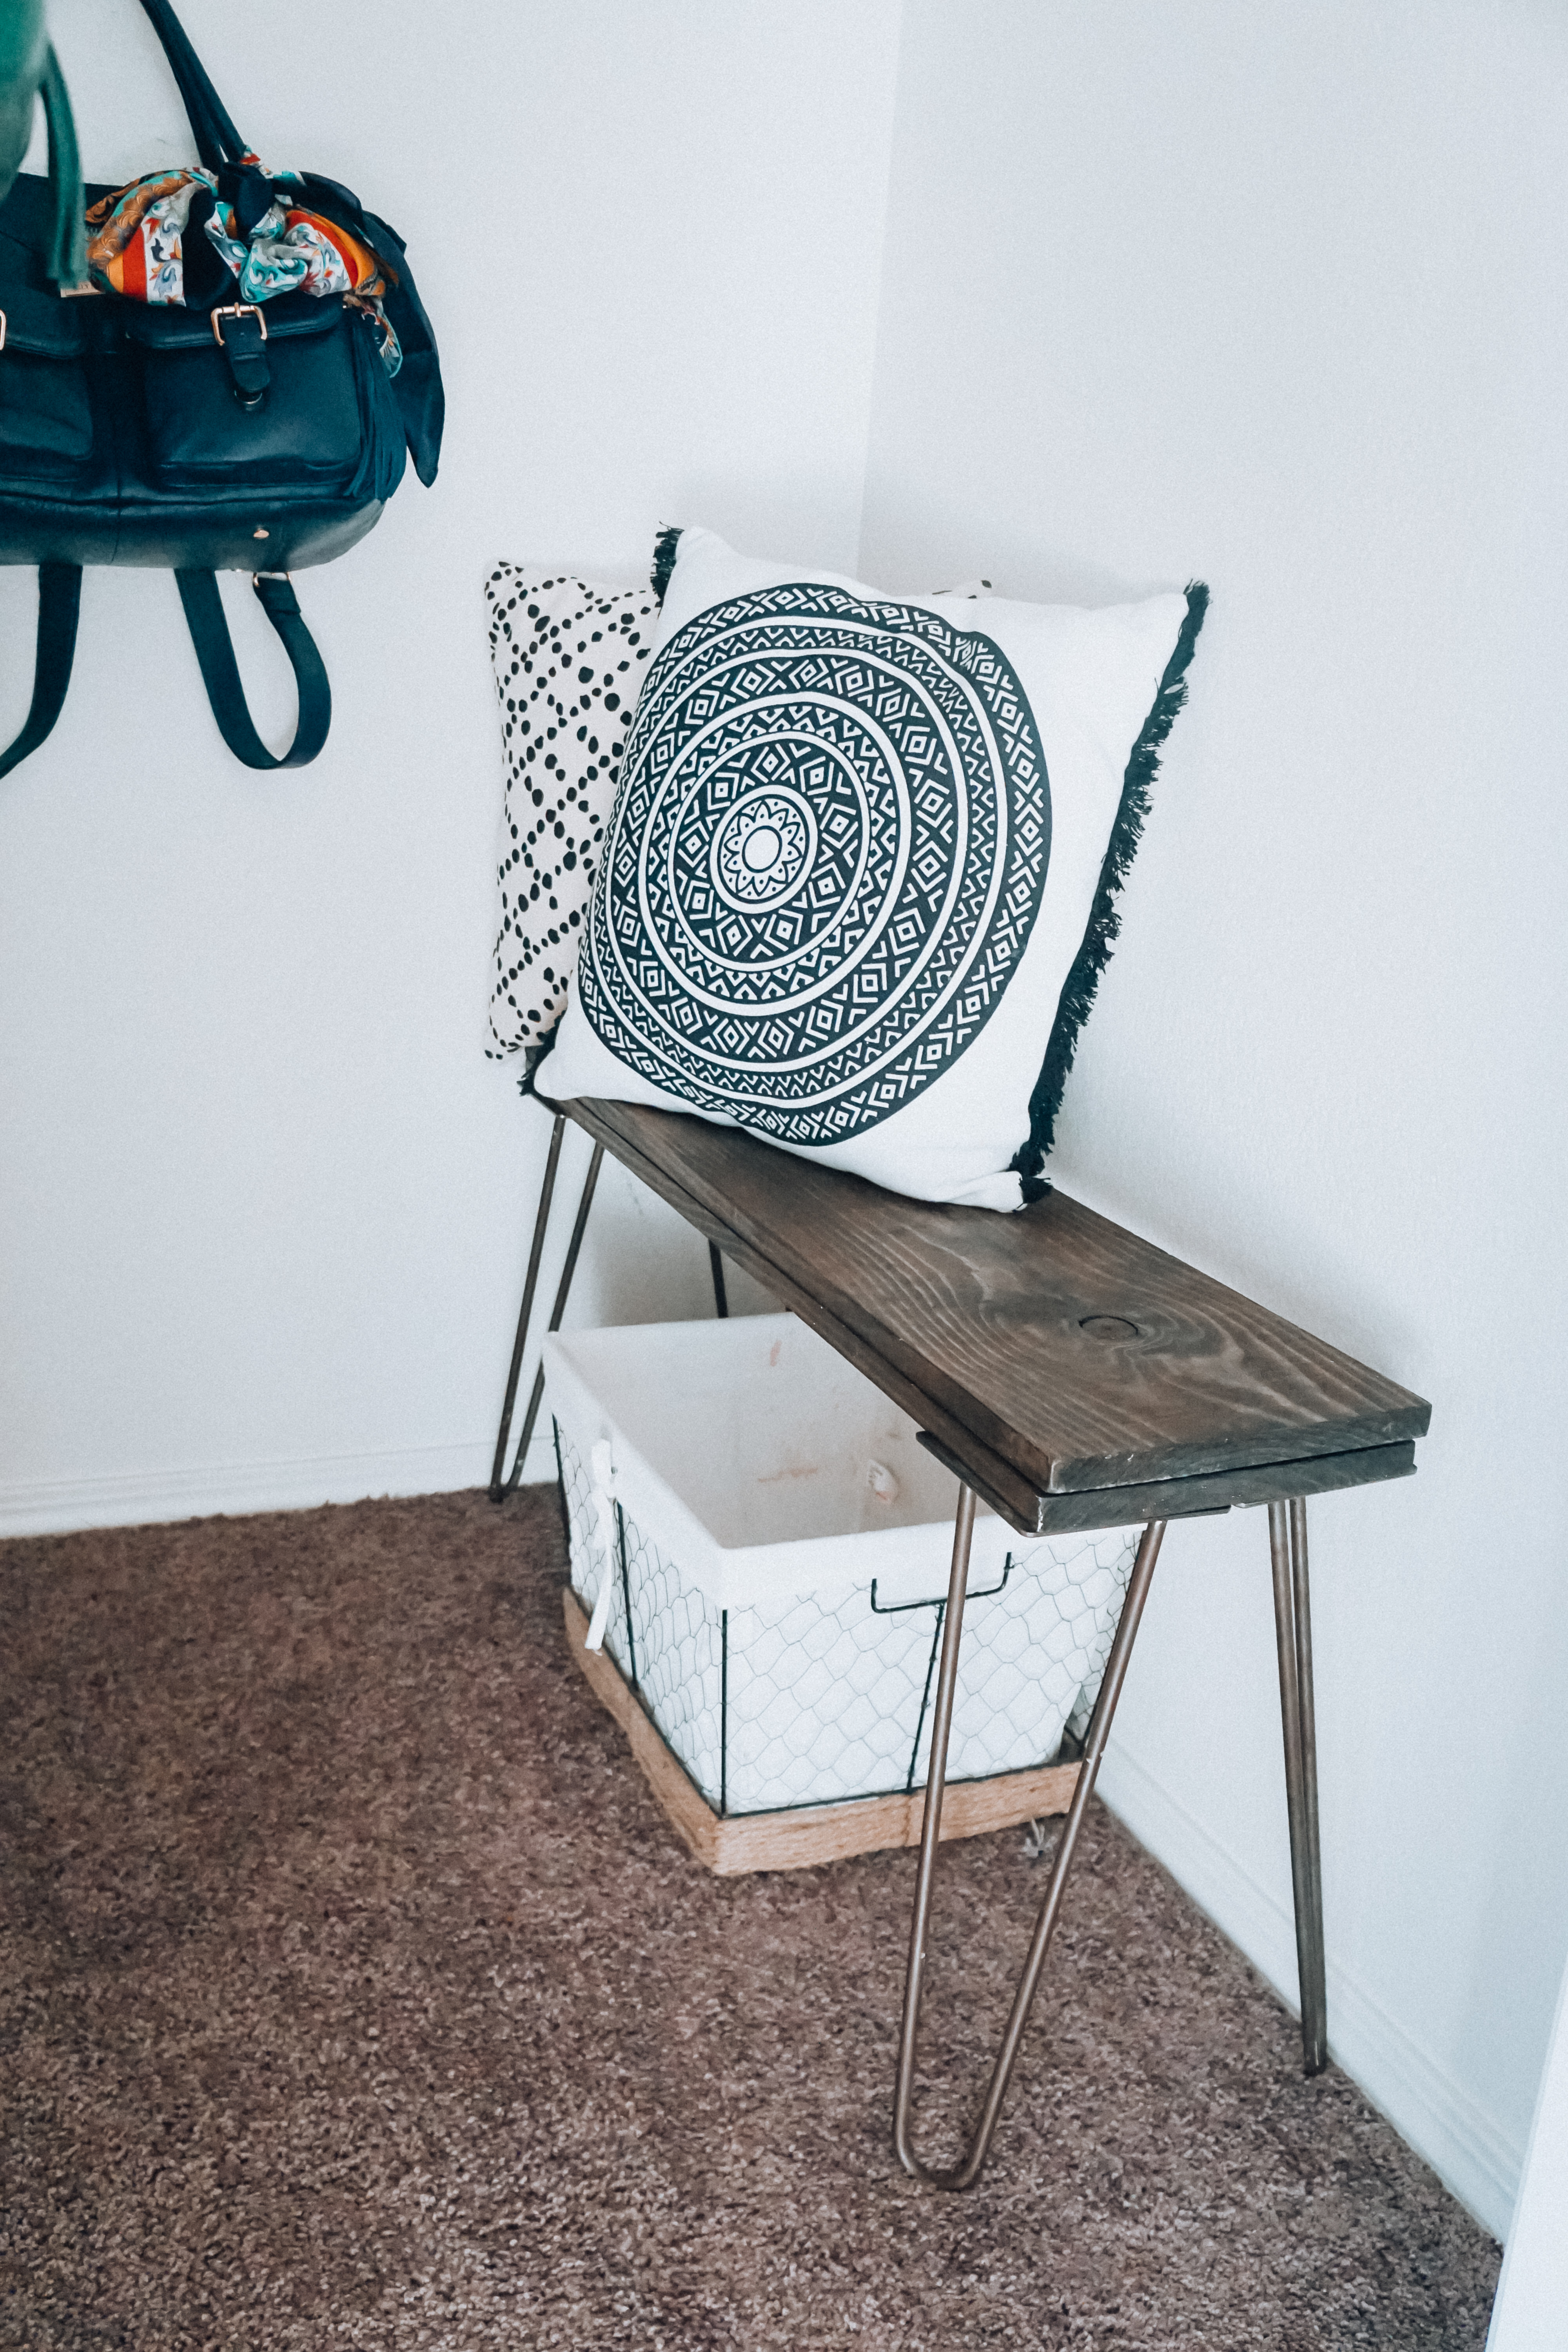
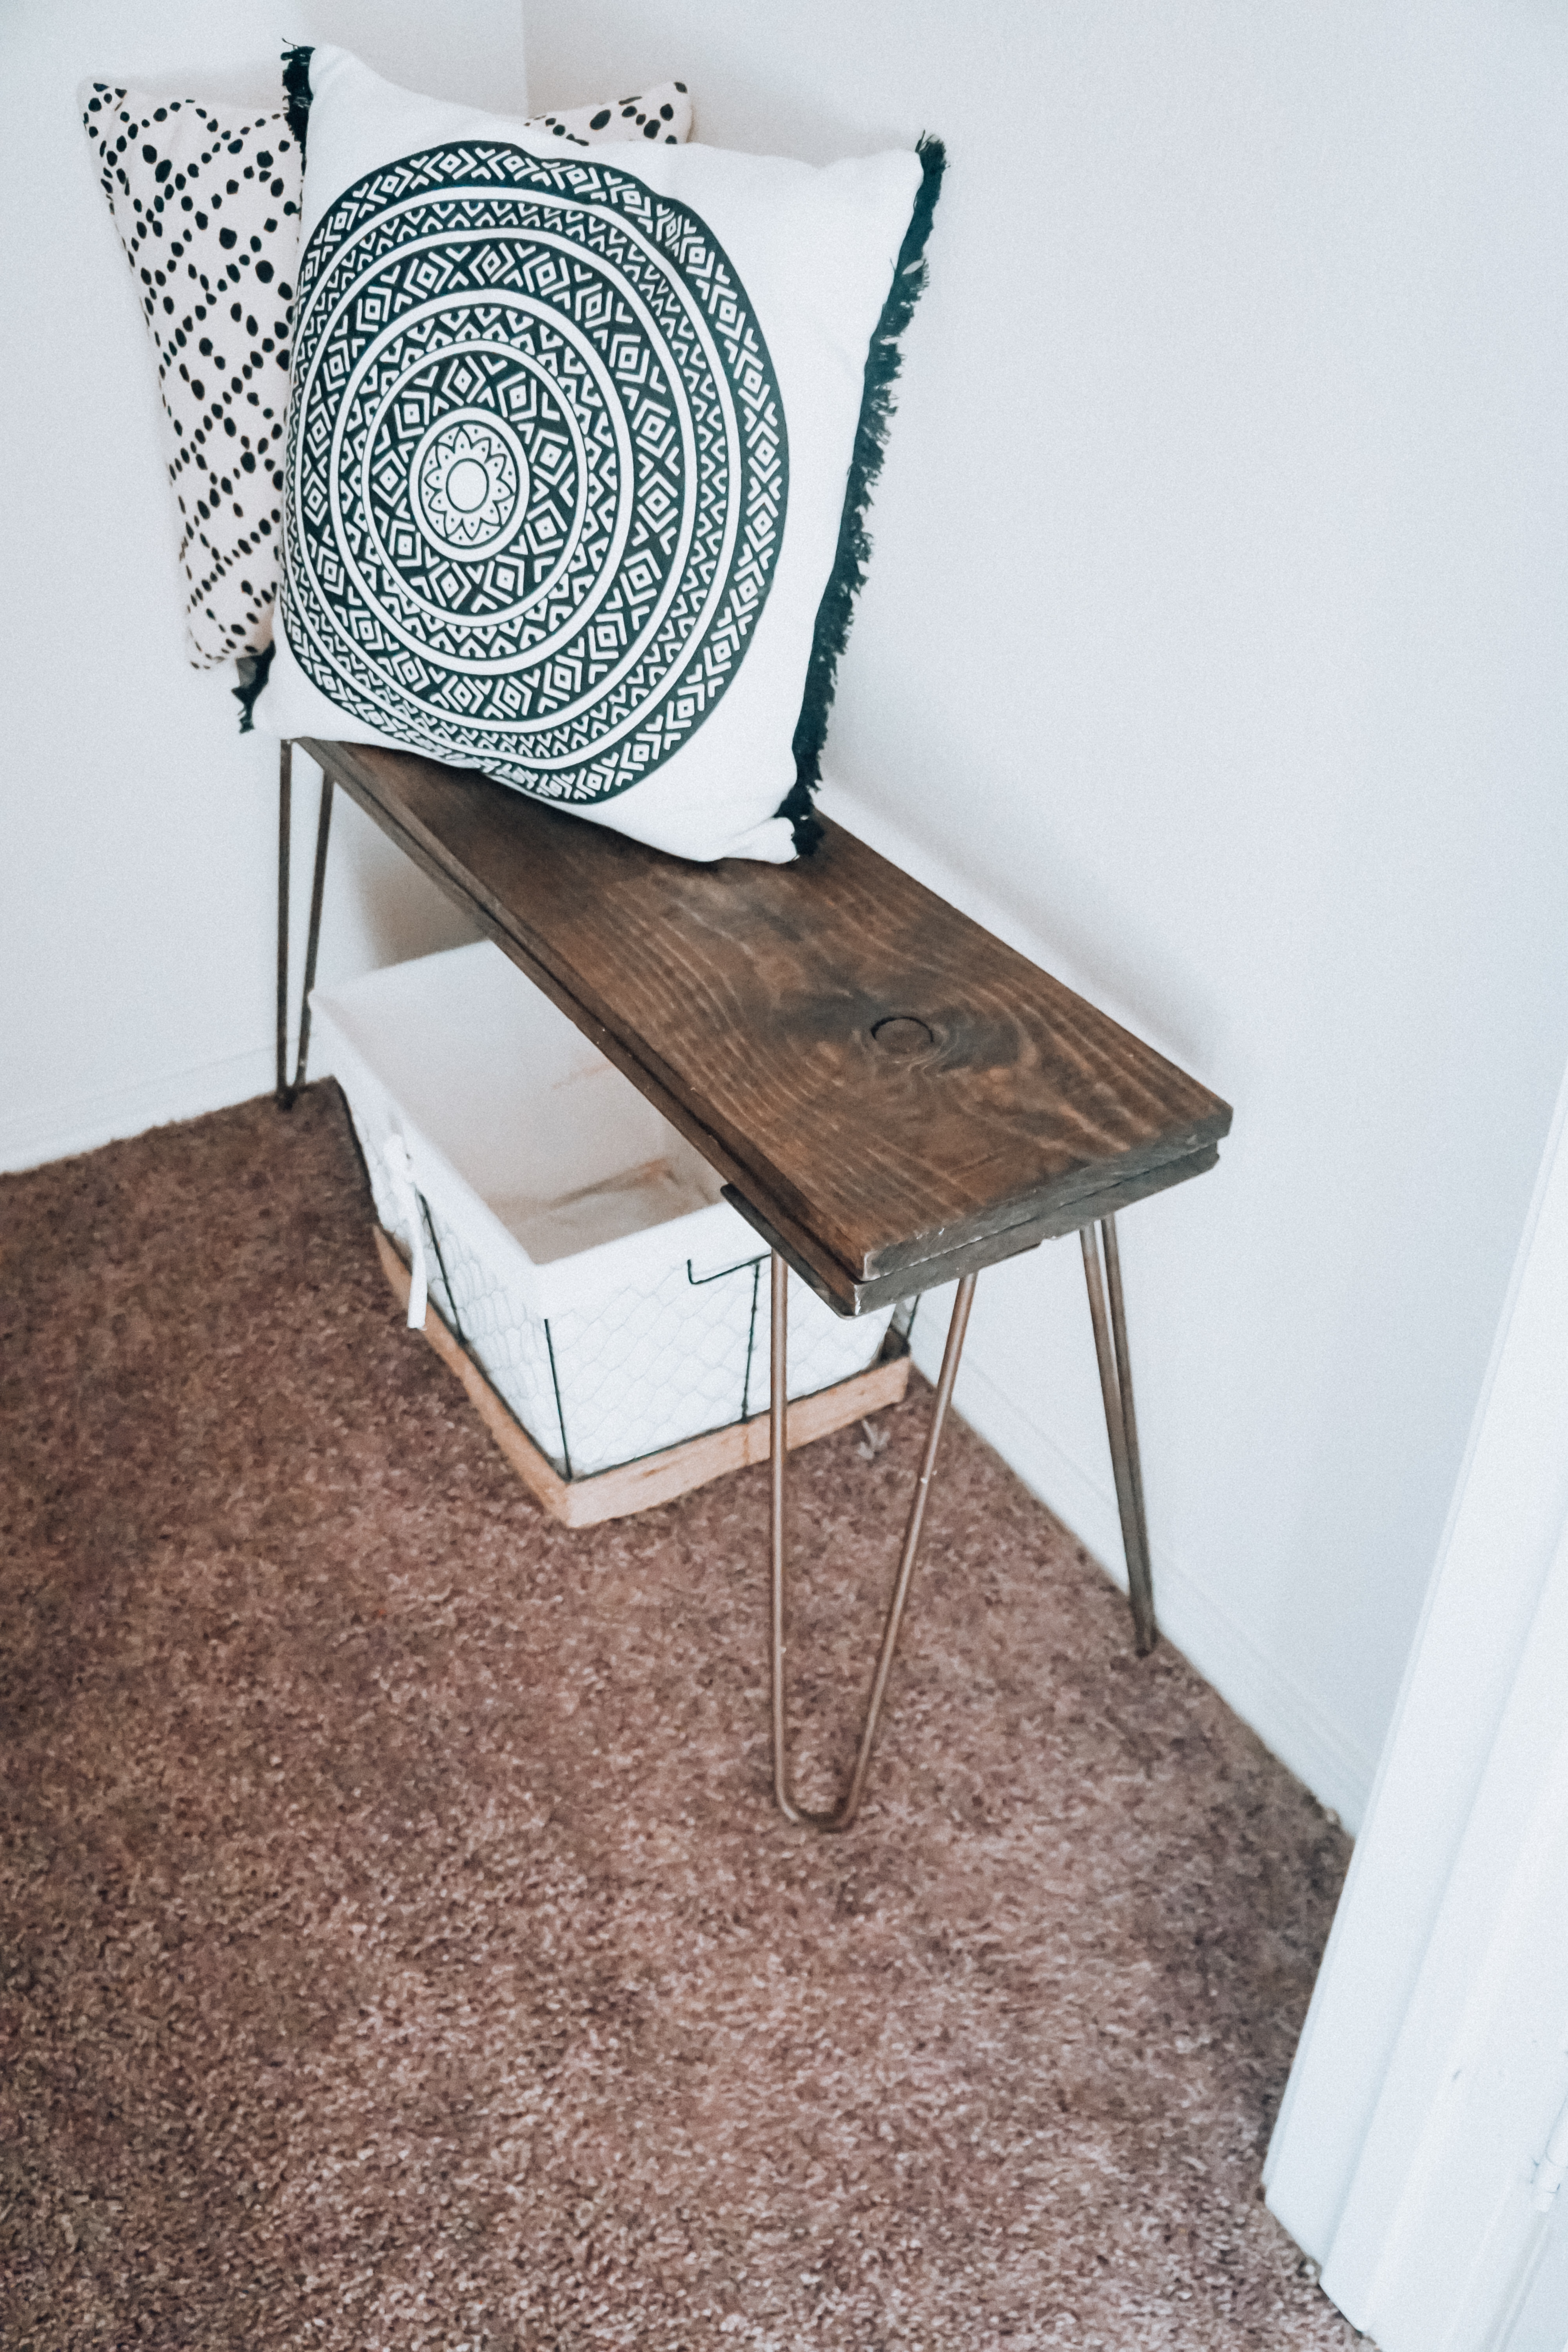
So here’s where the stroke of genius comes in: since abandoning the cubby shelf idea I started thinking about a little bench so the kids had a place to sit down and put their shoes on. The closet is so narrow that I knew I’d have to make my own to make sure it fit while allowing enough space to move around.
I had these industrial table legs left over from when we dissembled our coffee table, and some extra planks of wood that used to be shelves in our old apartment. I decided to use both of those to make a little bench!
I used wood glue to hold the two planks on top of each other, and drilled the four legs onto the wood planks. Voila! The perfect little bench, and I made it with materials that were sitting, unused in our garage!
So dang proud of myself for that 🙂 annnywayyyys, moving on!
I went to Ross and grabbed these cute gray baskets for $7 each. In one I’m storing gift bags and tissue paper, and the other one has vacuum attachments and reusable shopping bags.
The hanging basket was a Goodwill find, I think it was $2! I usually have my Hope & Plum baby wrap in there, but it’s been living in my car for the last few days (guess I need to go buy another one ;))
Since we’re renting, I’m very cautious about putting holes in the wall. I spray painted these command hooks gold to make them a little less ugly and they hold my Lily Jade diaper bags! I find myself using these ones more frequently, so they stay in the closet downstairs and my less used ones stay in a closet upstairs.
The basket under the bench was another Ross buy, and I plan on putting the kid’s boots and colder weather shoes in there since they won’t fit in our shoe basket by the door.
There’s enough space between the bench and the door to store our vacuum, so it lives there when I’m not taking pretty blog pictures 😉
That’s about it! I am so happy with this finished product, and that I don’t have to stare at a closet of junk anymore! It was honestly so easy to do, and now I’m trying to shop the things we have in our garage or storage closets before running out to buy new things.