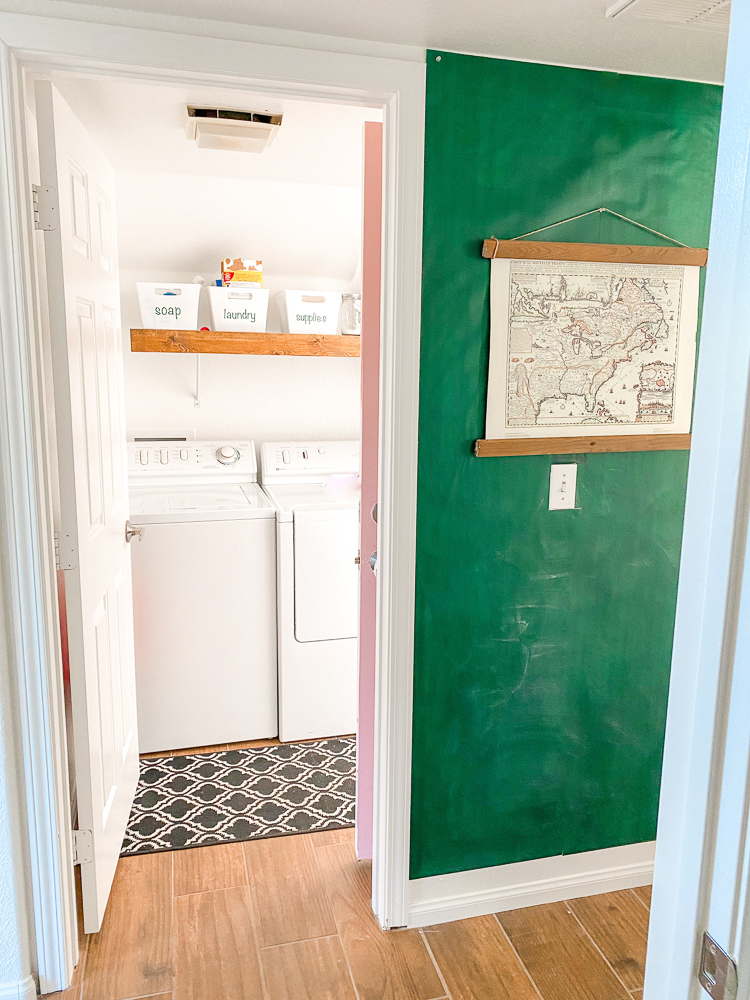
I’m excited to share another quick and easy, renter friendly project we did a little while ago! I think it’s actually been a month since I added this to our house, I’m clearly behind! This renter friendly chalkboard wall cost me less than $20, is kid friendly, and added a fun statement in our house!
There isn’t much to explain with this! I purchased 2 rolls of this chalkboard contact paper from Amazon and followed the instructions for application. I do have some tips for applying contact paper since I’ve done it so many times in our house, so I’ll share those below!
Tips for applying contact paper:
-Make sure your walls are completely clean and dry before applying.
-Start by unrolling a 1-2 inch section and get that lined up correctly on your wall. Then slowly unroll 2-3 inch sections at a time and smooth onto the wall.
-Use an old credit card to smooth out air bubbles as you apply.
-If your paper is translucent (this one is!) have an exacto knife ready to make detail cuts along any overlaps.
-Since this is chalkboard contact paper, you should season it before using chalk on it! To season a chalkboard, rub the side of a piece of chalk in the same direction over the entire surface. Then repeat going the opposite direction!
I think this wall turned out great and am really happy with the end result! Have you ever used contact paper in your house? It is my favorite renter friendly hack!