A little bit about Dr. Thomas and Omega Sports and Recovery: Dr. Thomas completed his education at University of Incarnate Word in San Antonio, TX. He performed rotations under renowned physical therapists all over the state of Texas. While working in an outpatient PT setting, he became frustrated at patients not being able to receive the level of care they needed and deserved. This is why he founded Omega Sports and Recovery. At Omega, he sees one patient per hour (as opposed to 3 or more!), and as a clinic focuses on community outreach, youth involvement, and evolving to fit the needs of the San Antonio population.
If you follow along on Instagram, you’ve probably seen my stories about going to physical therapy and how much I’ve enjoyed it. Well it’s been one month since I started, and I haven’t had ANY sort of back pain in two weeks! Considering my back would ache after doing really menial tasks (standing up, walking, bending over) this is a huge accomplishment and verification that this therapy has really worked for me!
If you are in the San Antonio area, I highly recommend visiting Dr. Ribu Thomas to talk about the issues you may be experiencing and what he can do to help. Going into this, I figured I would have to deal with my back pain until the end of my pregnancy, but finding some new stretches to do could at least relieve some temporary discomfort. I really didn’t expect to come out feeling so much better in so little time. Dr. Thomas was excellent at evaluating the source of my pain, coming up with exercises and stretches I could do at 8 months pregnant, and working on realigning my hips so I could do everything correctly.
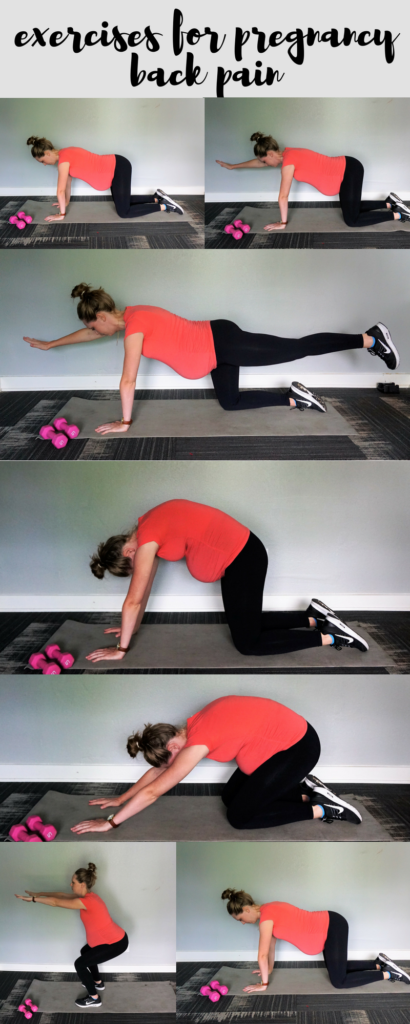
For those of you who are pregnant and experiencing lower back pain, I’ve described and photographed some of the exercises I have been doing to help alleviate that pain. As always, make sure you go over any regiment with your healthcare provider before starting something new.
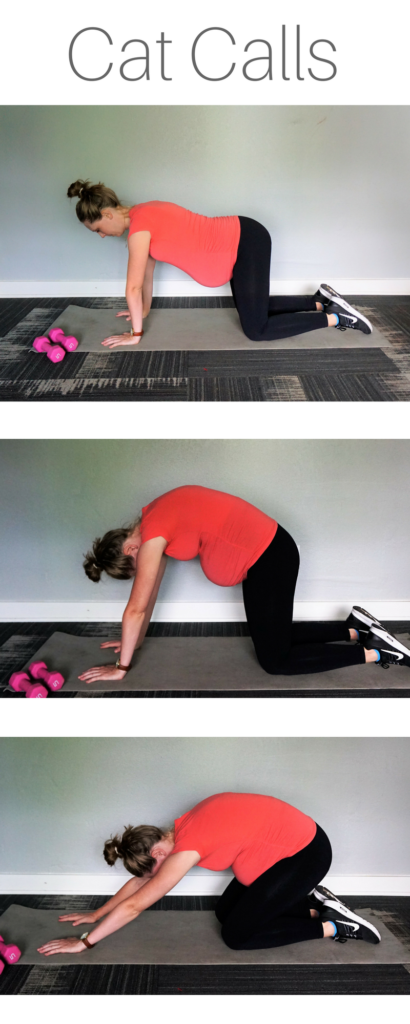
- Cat Calls – (not sure if this is actually what they’re called, but just go with it).
- Start on all fours, with hands directly beneath the shoulders and knees directly under the hips.
- Arch your back towards the ceiling as high as possible.
- Slowly rock backwards towards your heels, keeping you back arched.
- When you’ve gone as far back as you can, rock forward towards hands. Repeat 10 times.
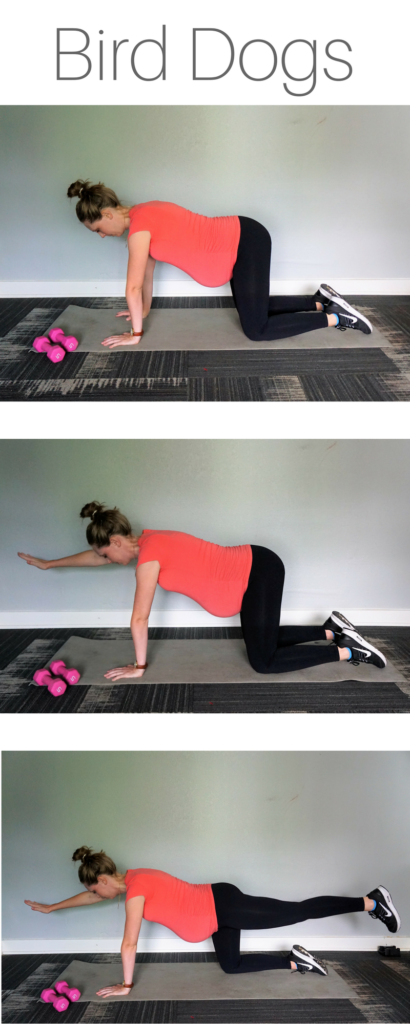
- Bird Dogs (again, not sure where these names are coming from).
- Start on all fours, with hands directly beneath the shoulders and knees directly under the hips.
- Slowly extend one arm and opposite leg until straight, make sure to keep your weight centered (i.e. don’t shift to the side as you extend).
- Bring arm and leg back to starting position.
- Slowly extend other arm and opposite leg until straight, keeping weight centered.
- Bring back to starting position. Repeat 10 times.
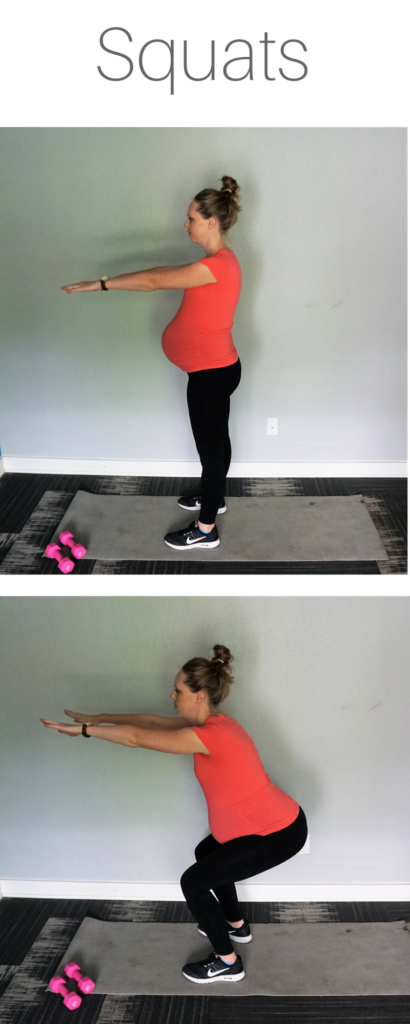
- Squats (these actually aggravated my back pain, so I stopped doing them. But this is the correct form you should be practicing.)
- Find a low box or chair that requires bending knees more than 90 degrees to sit down on.
- Start by standing in front of box, feet shoulder width apart.
- SLOWLY descend as if you were sitting down on a chair (i.e. butt out and knees aligned with toes)
- Stop once you reach the box or chair.
- To get back up, focus on pushing through the heels of your feet and using your glutes to propel yourself up. Repeat 10 times.
- Hand Heel Rocks: The goal of this exercise is to help improve hip mobility, open up joints in the low back and lumbar sacral junction and gently stretch the back extensors. It must be done properly to get these benefits.
- Start in the hands and knees position, hands are placed below shoulders or slightly in front. Knees directly under hips and your feet together.
- Eyes are looking directly down at floor so the neck is in a neutral position.
- Lumbar spine is in neutral. This means NO arching of back or excessive rounding of the spine.
- Use your hands to push your hips back to your heels.
- Hold 10 seconds at this position, then return to start position while maintaining neutral lumbar spine. Repeat 10 times.
I know there isn’t one solution that works for everyone, but doing these exercises AND meeting with Dr. Thomas to realign my hips, together made it so I am no longer experiencing that debilitating back pain. I highly recommend this type of therapy, and encourage anyone who is struggling with similar issues to consider going to a physical therapist (and Dr. Thomas especially, if you’re local!) If you have any questions for him or for the clinic, here is their website (he offers free phone consultations and a free discovery visit!). Be sure to mention that I sent you!
BONUS: Dr. Thomas created a free strategy guide with 5 tips to end your lower back pain. To download that guide, click HERE.
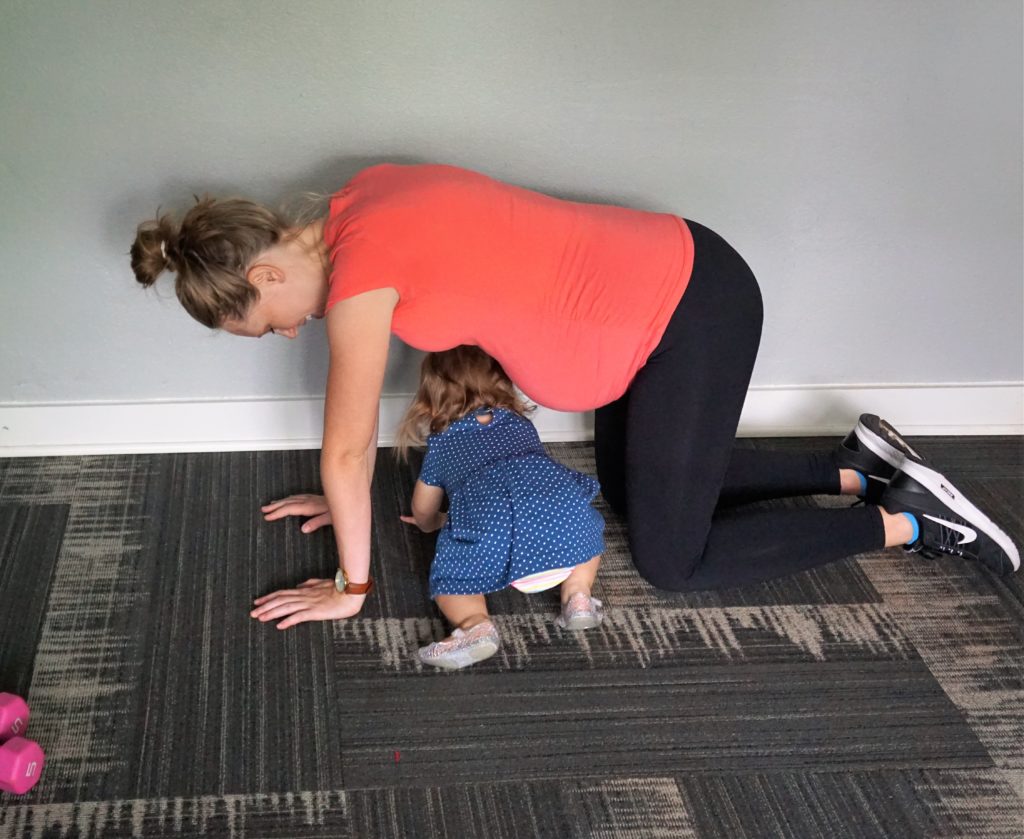
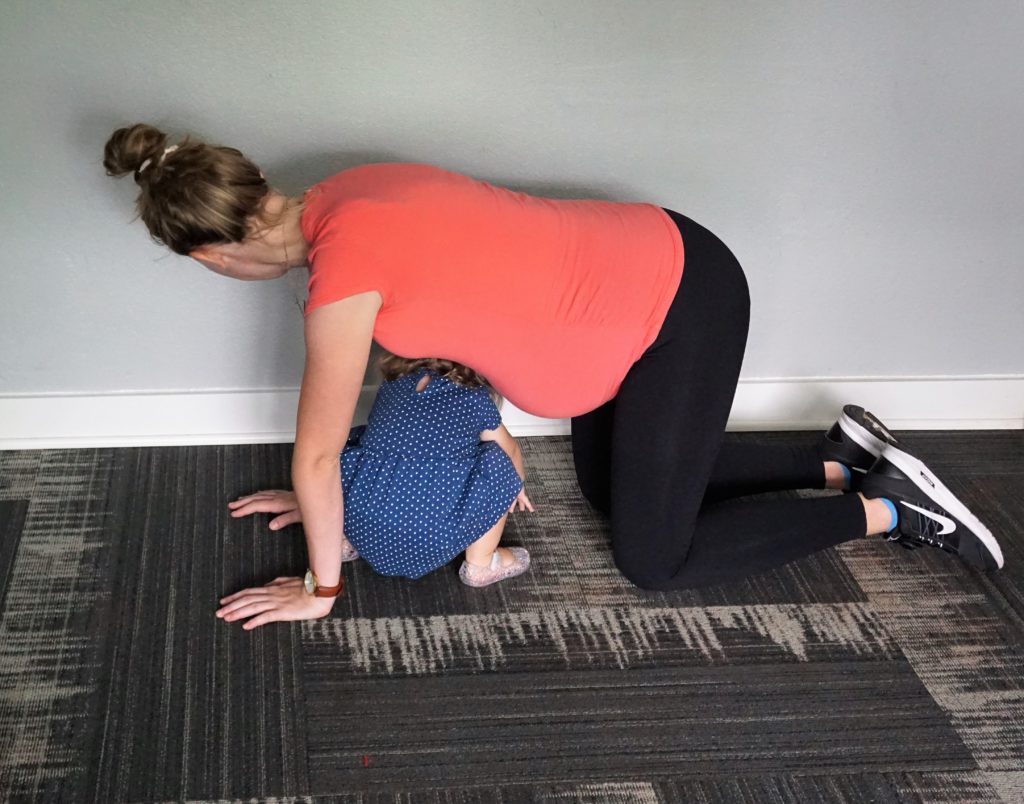
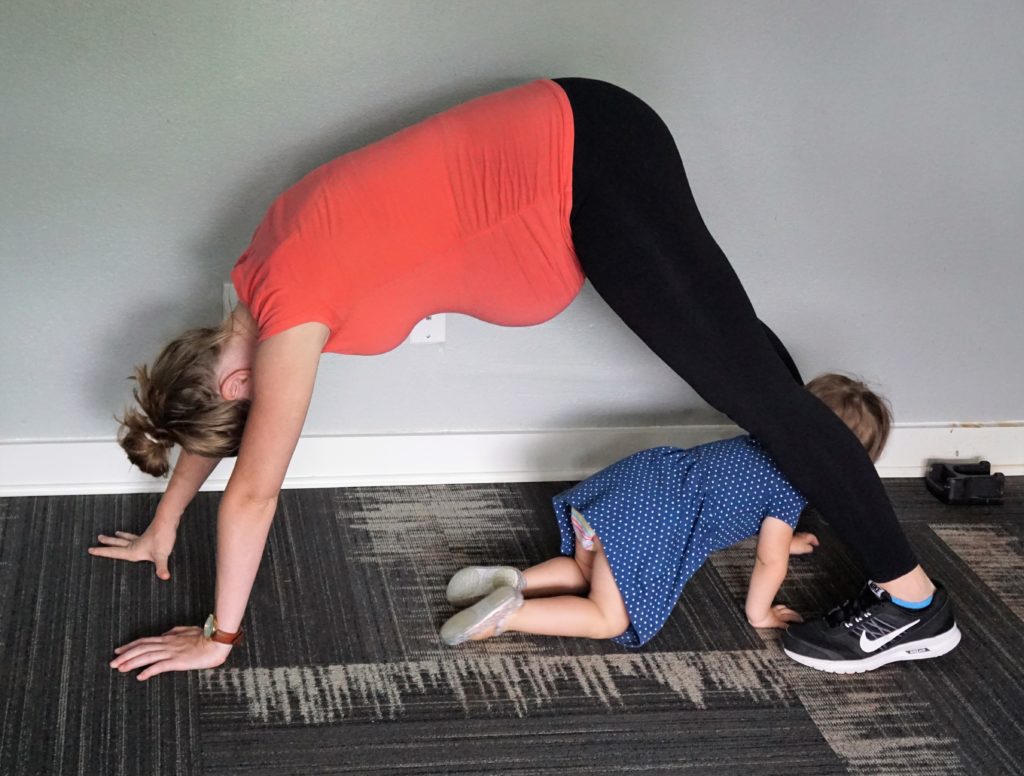
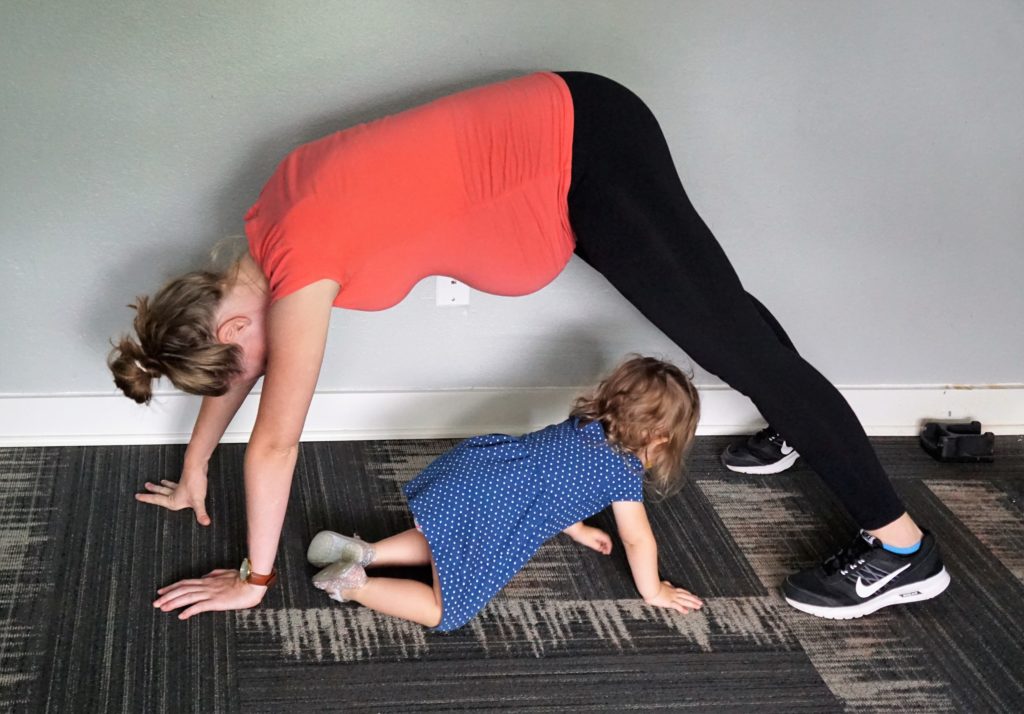
For some extra laughs, here are some pics of what it looks like trying to do PT with a toddler around…
