It has been so fun sharing the different rooms we’ve finished in this house, I hope you are enjoying it as much as I am! I’m excited to share our master bedroom today, it’s a room that I’ve felt needed a makeover for a while and I’m really happy with the result!
Our previous master looked like this! I loved the all white look but it was starting to feel boring, and I felt like everyone else had them same exact bedroom. Surprisingly, we only changed a couple of things to make the transformation, and the space looks completely different! I love when changing a few small things makes such an impact, and that’s exactly what happened here.
So here is our new master bedroom!
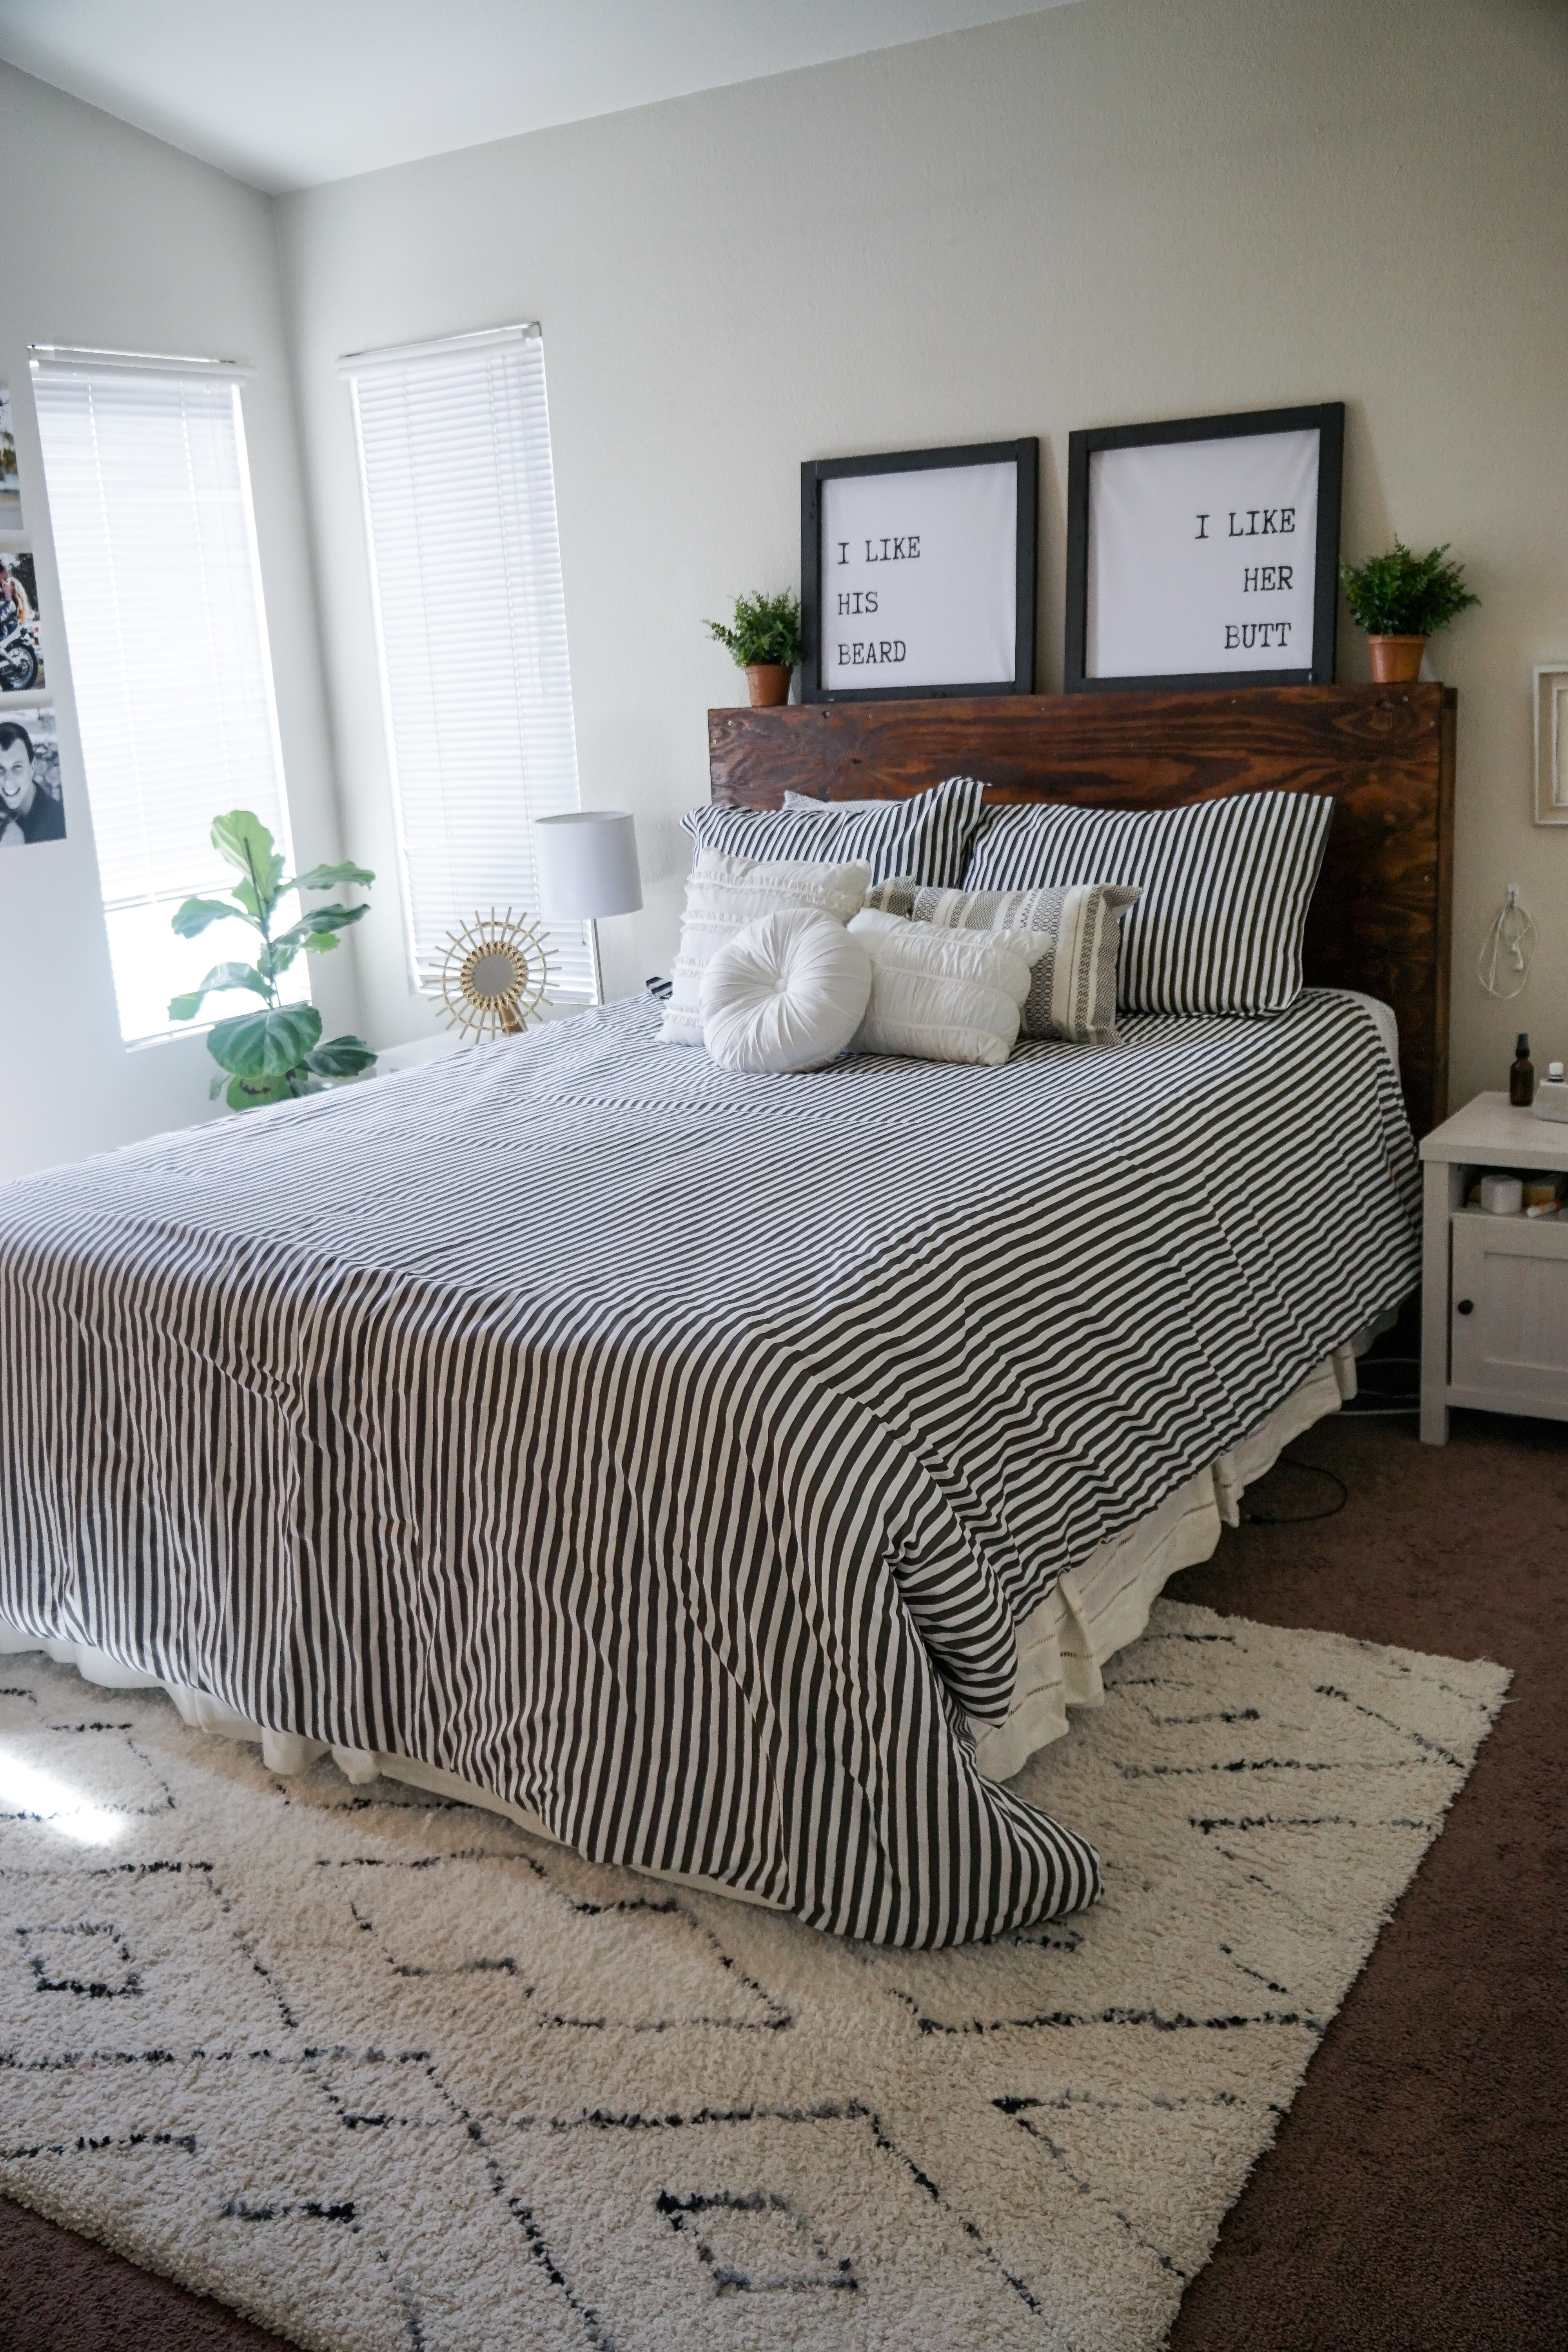

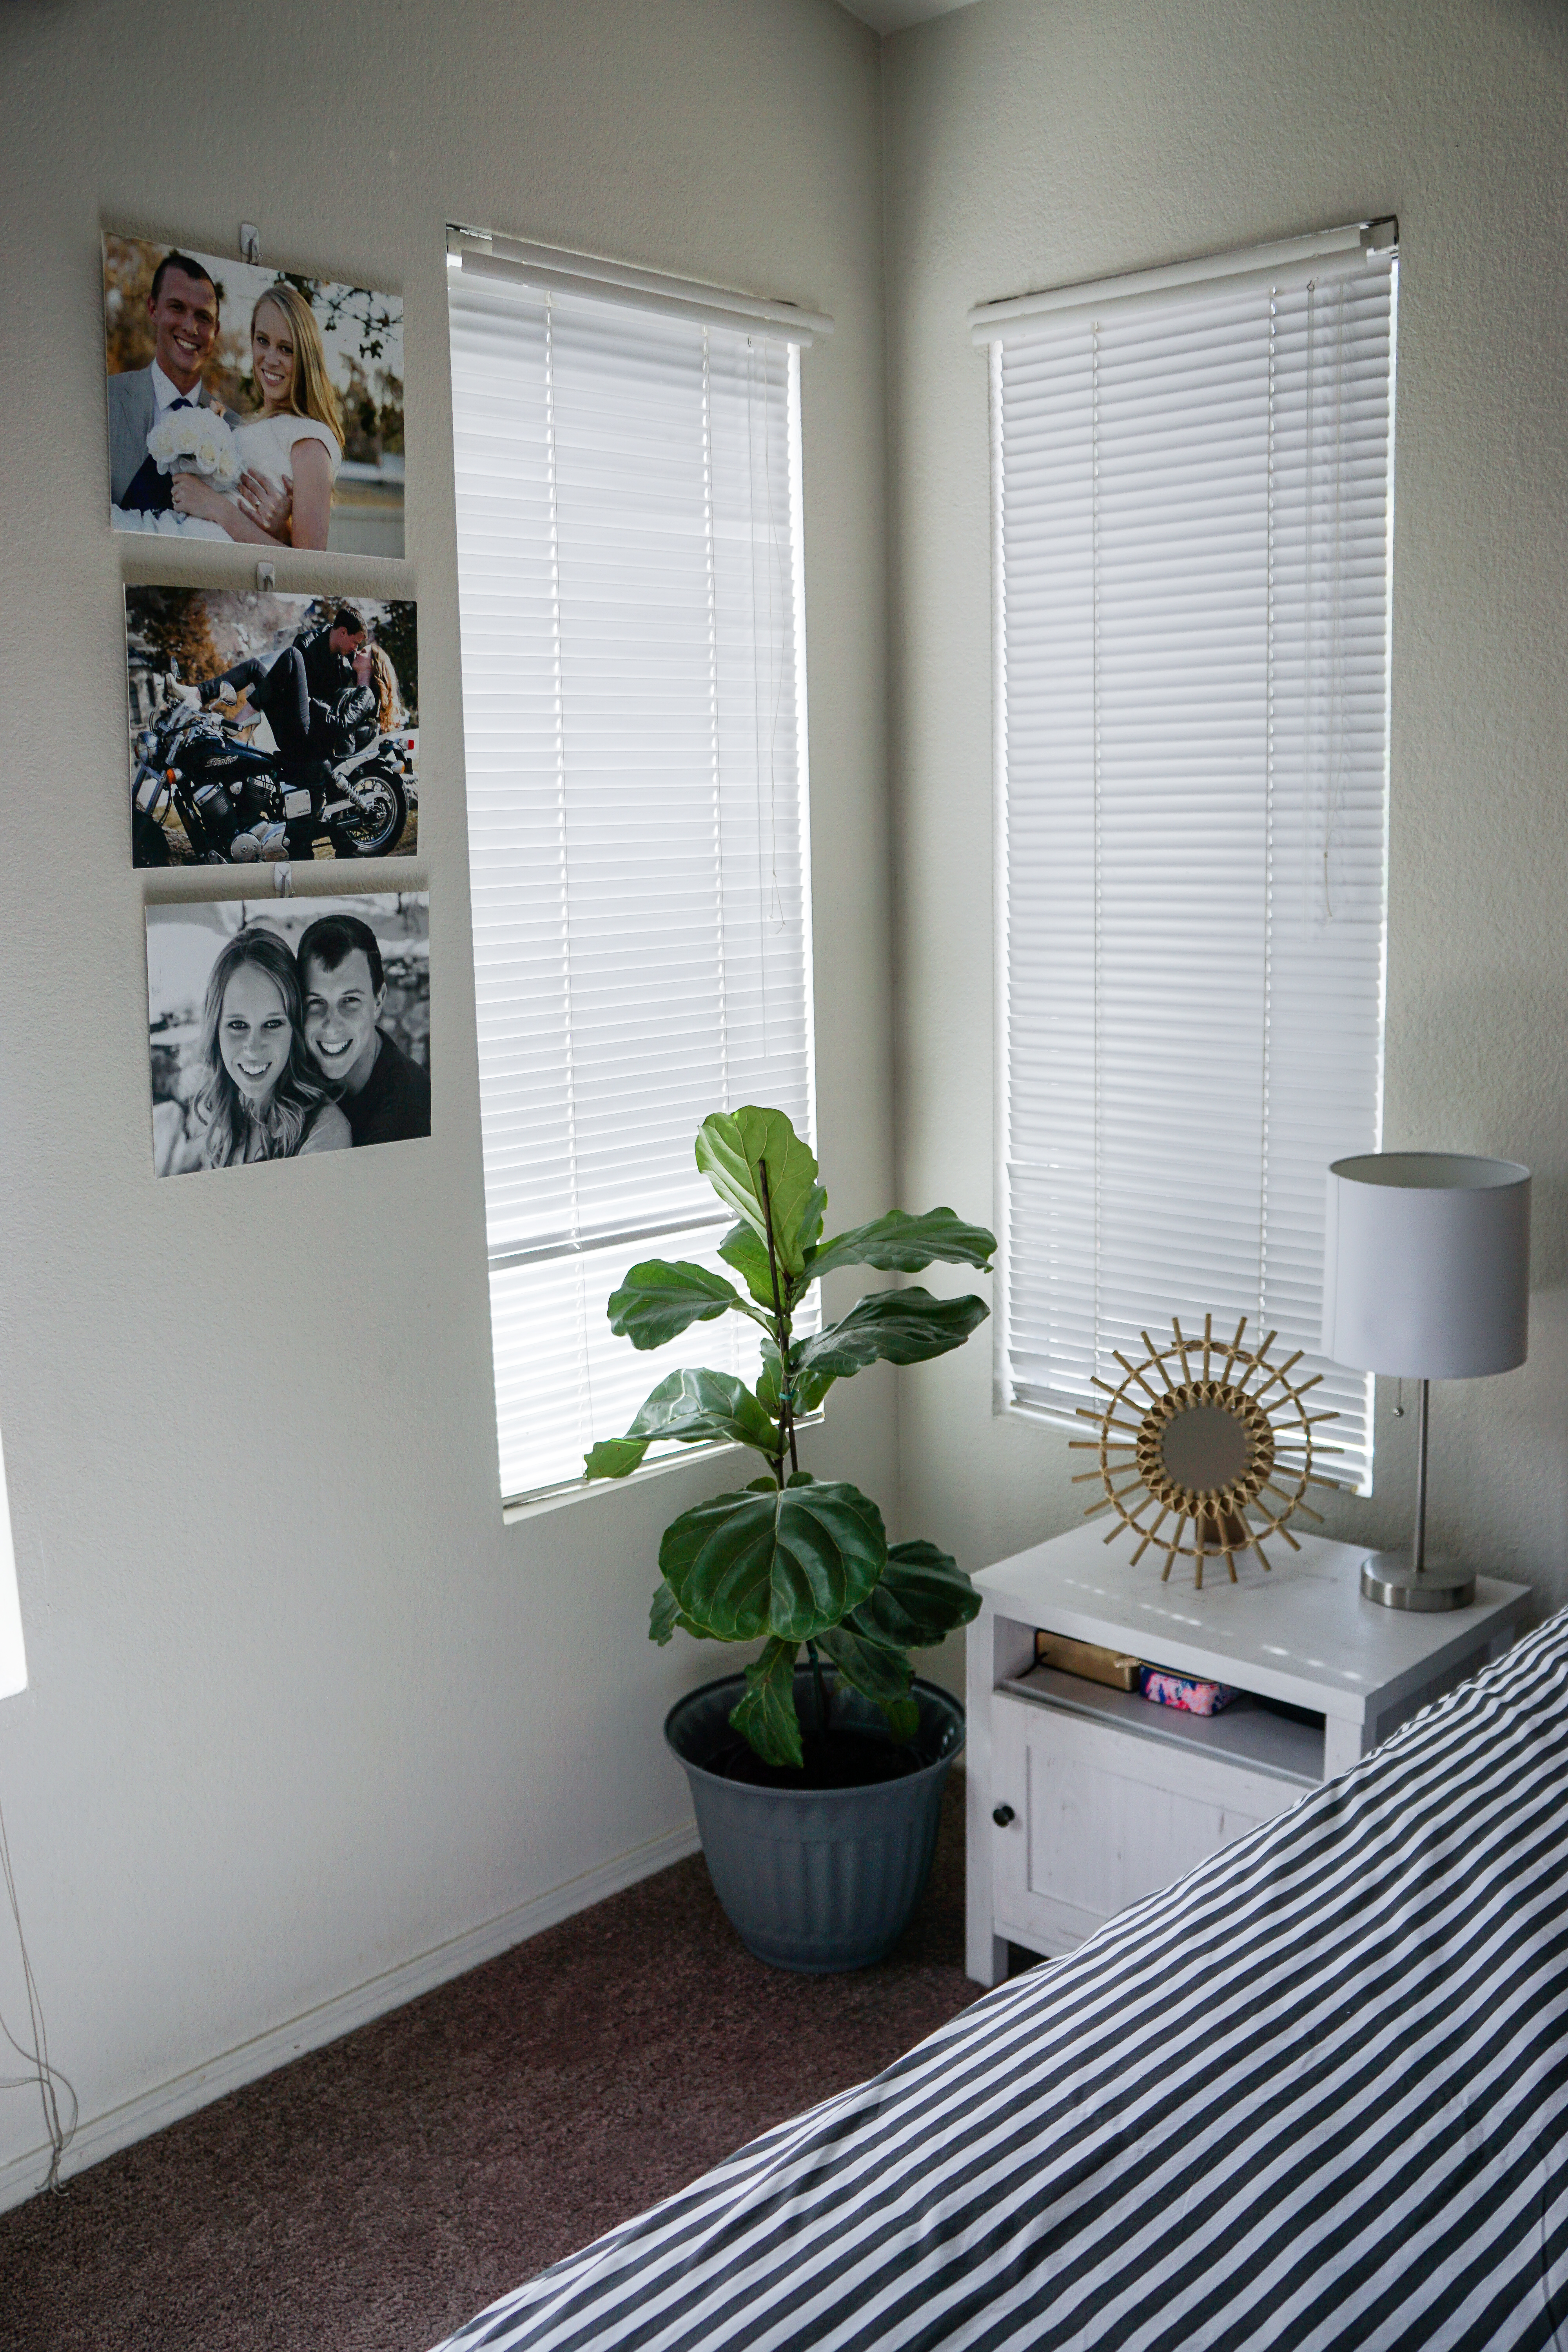
We kept all of our furniture the same–our headboard actually used to be our dining table that we built, but we didn’t need such a big table so one day I took off the legs and BAM, headboard! Our nightstands were Christmas presents last year, and we don’t have a dresser because we like having the extra uncluttered space in our room.
We really only changed a couple of things: the bedding and the wall decor! We ditched our all white bedding set for this striped duvet set from Linens and Hutch. I was initially worried that the comforter wouldn’t be heavy enough or that the stripes would be too much, but I love the statement our bedding makes and how it looks against the dark stained headboard. And the comforter is actually heavier than our old one, which was a pleasant surprise!
The duvet cover was so soft and comfy that I ended up ordering a sheet set from Linens and Hutch too, and they are incredible quality! We’ve used the same bamboo set of sheets for the last several years because I hadn’t found anything that matched that softness and quality…until now. Seriously, these are the same top notch quality of higher priced sheets, but at a much more affordable price! We got the polka dot sheets in the same gray color as our striped duvet, and I love the mixed patterns together. I’ll definitely be ordering more for our guest bed (I’m eyeing this set) because they are so good! I reached out to Linens and Hutch about a discount code because I was so impressed, and they were kind enough to give me one! Use code caseyeanderson for a whopping 30% off the entire store!!
I actually DIY’d these pillows from a pair of clearance placemats at Target. I’m going to give them their own blog post because it was the easiest and cheapest way to make your own pillows!
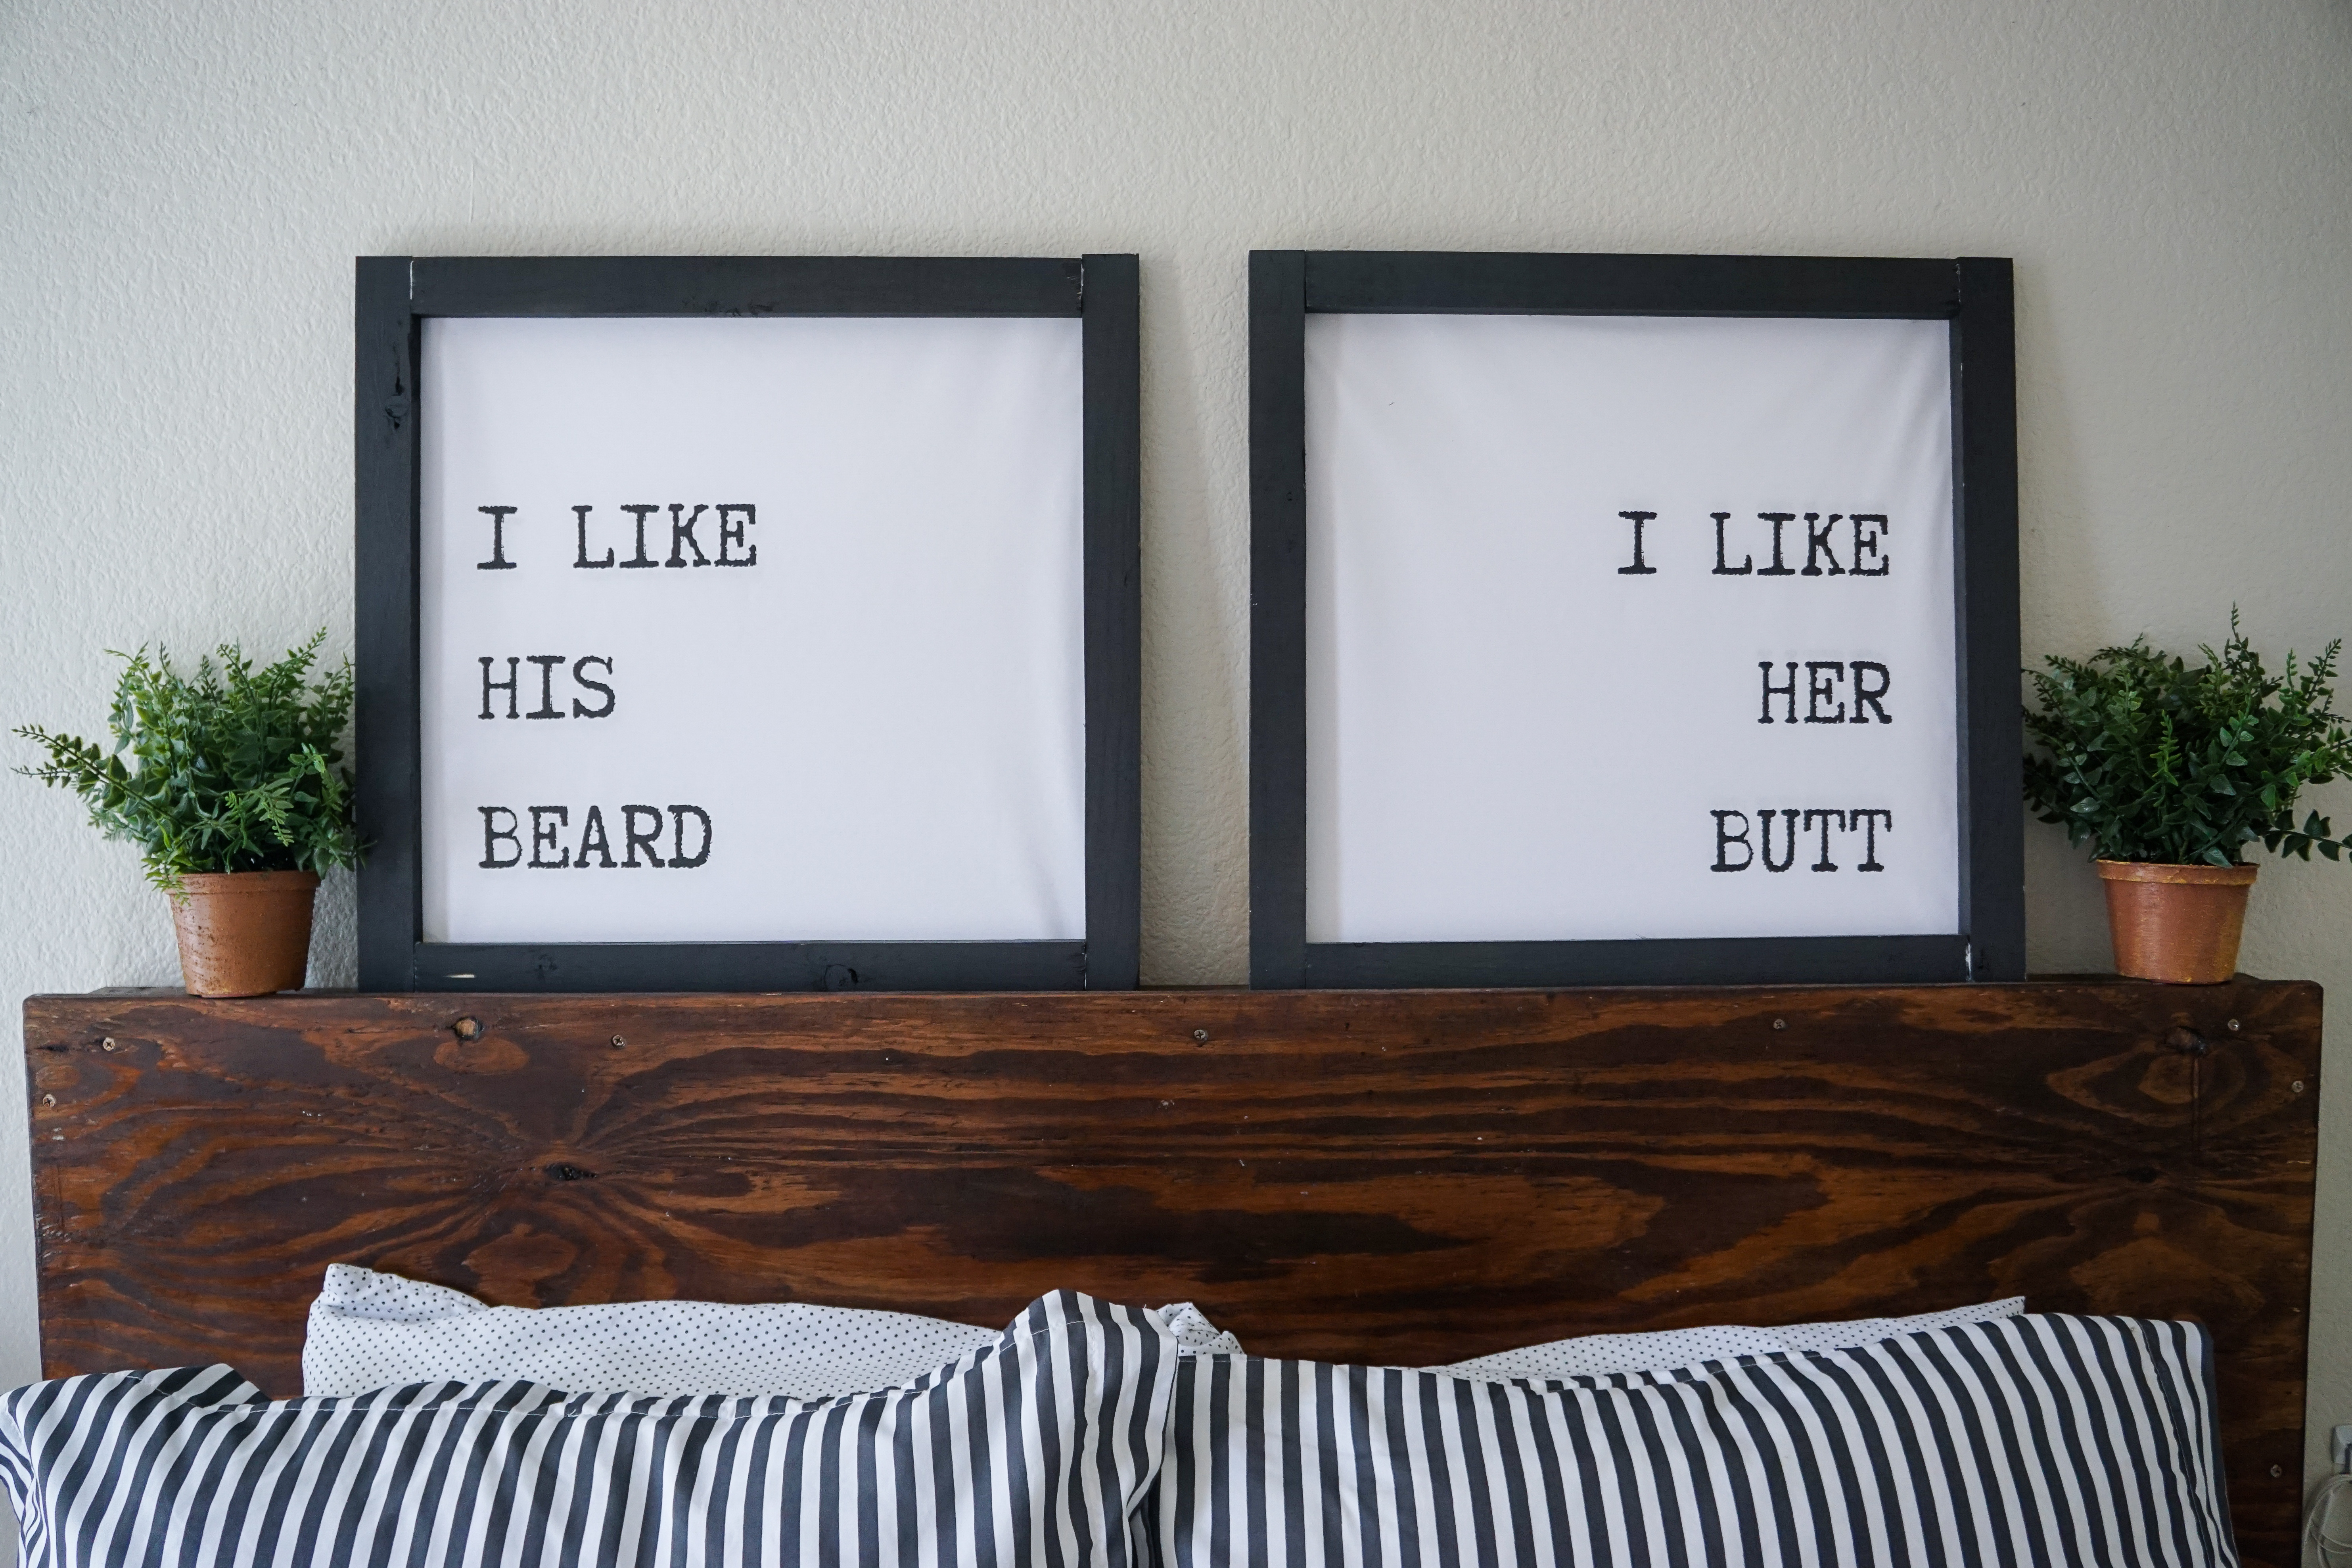
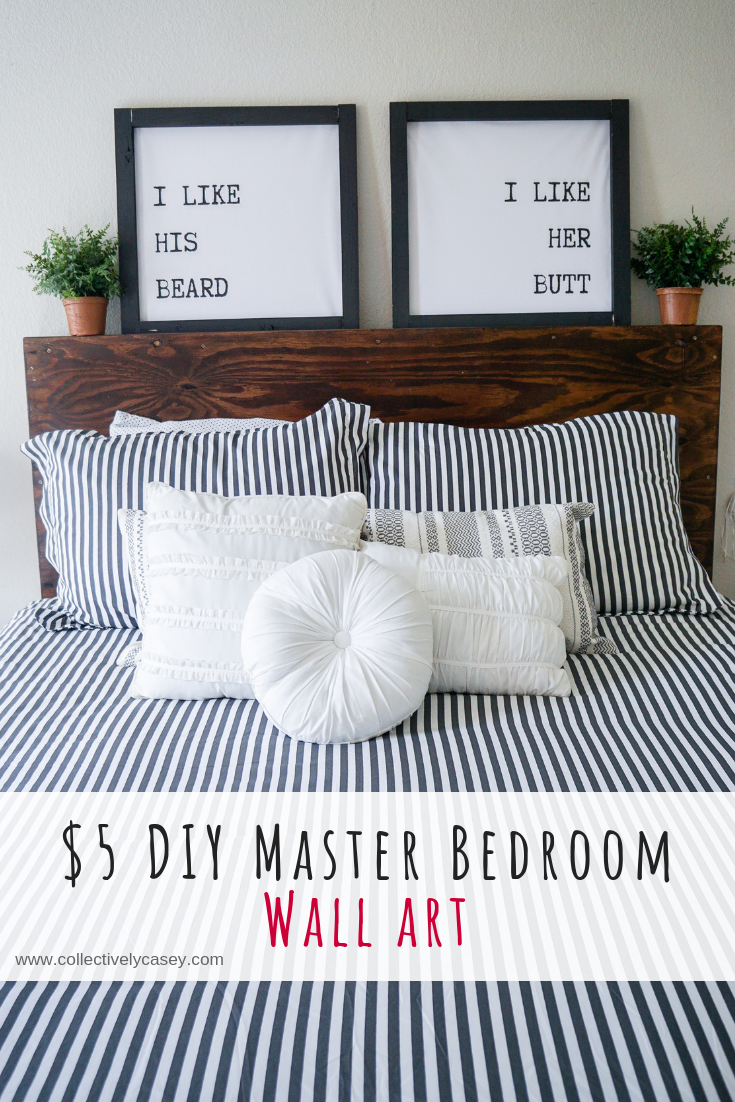
All of our wall decor was DIY’d as well! I can’t justify spending hundreds (yes, hundreds) of dollars on wall art so I opt to make my own. The signs above our bed are my absolute favorite! I actually saw them on Jess Oakes blog here and initially thought they were so bizarre and wondered who would put those on their walls. But then I realized that I’m constantly telling Jared how much I like his beard and he’s always saying he likes my butt so why not turn it into a fun sign?!
You can purchase the signs here or you can follow these super easy DIY instructions! I made the prints myself on Canva and had them printed at Staples (engineering prints are like $3), then I built the wood frames. I ended up making these 18 x 18 and the size is perfect for above our queen bed! Here’s everything you need:
-these prints!
-order them in 18 x 24 from Staples engineering print section
-poster board
-adhesive
-1 x 1 wood with 2, 24 inch cuts and 2, 17 inch cuts
-wood glue (or hot glue works too!)
-stain or paint
So the first time I made these I cut the prints the wrong size and had to reorder them from Staples. Not a big deal since it’s only $3 to get them printed. But the guy at the counter was definitely making fun of me for these signs and it was fairly awkward going to pick them up twice. Won’t be going back there for a while!
Cut the prints to 18×18 and cut your poster board to the same dimensions. Using an adhesive, glue the print and poster board together. Paint your wood and build your frame with wood glue or hot glue after the paint dries. I initially wanted to stain our wood, but found this charcoal matte spray paint in the garage and loved that it matched the comforter set, so I went with that instead! Once the frames are put together, hot glue (or staple) the print + poster board to the frame. This is the easiest project and the whole thing cost me $5.50!
I chose to leave them propped up on our headboard, since we’re renting I don’t like to hang things on the wall more than once and I’m not sure how high up I want these. So for now they will stay put! The faux greenery is from Hobby Lobby!
That’s pretty much everything! Our master bedroom has always been a room that we neglect which is easy since we don’t spend much time up there, but it’s nice to have a space that we truly love being in. I want my next project to be the master bath since it’s what we see from sitting in bed (and it needs a LOT of TLC) but we’ll see when I get around to that!
It looks amazing! I love the feel the new duvet gives the room!
Author
Thank you! It really does make such a difference!